User Guide › Push notifications

Topic 2 of 6

Push notifications

Bring shoppers back to your app with targeted push notifications. Pick a message type, write your content with a live phone preview, then send now or schedule it for the perfect moment.
  1. 1

    Choose a message type

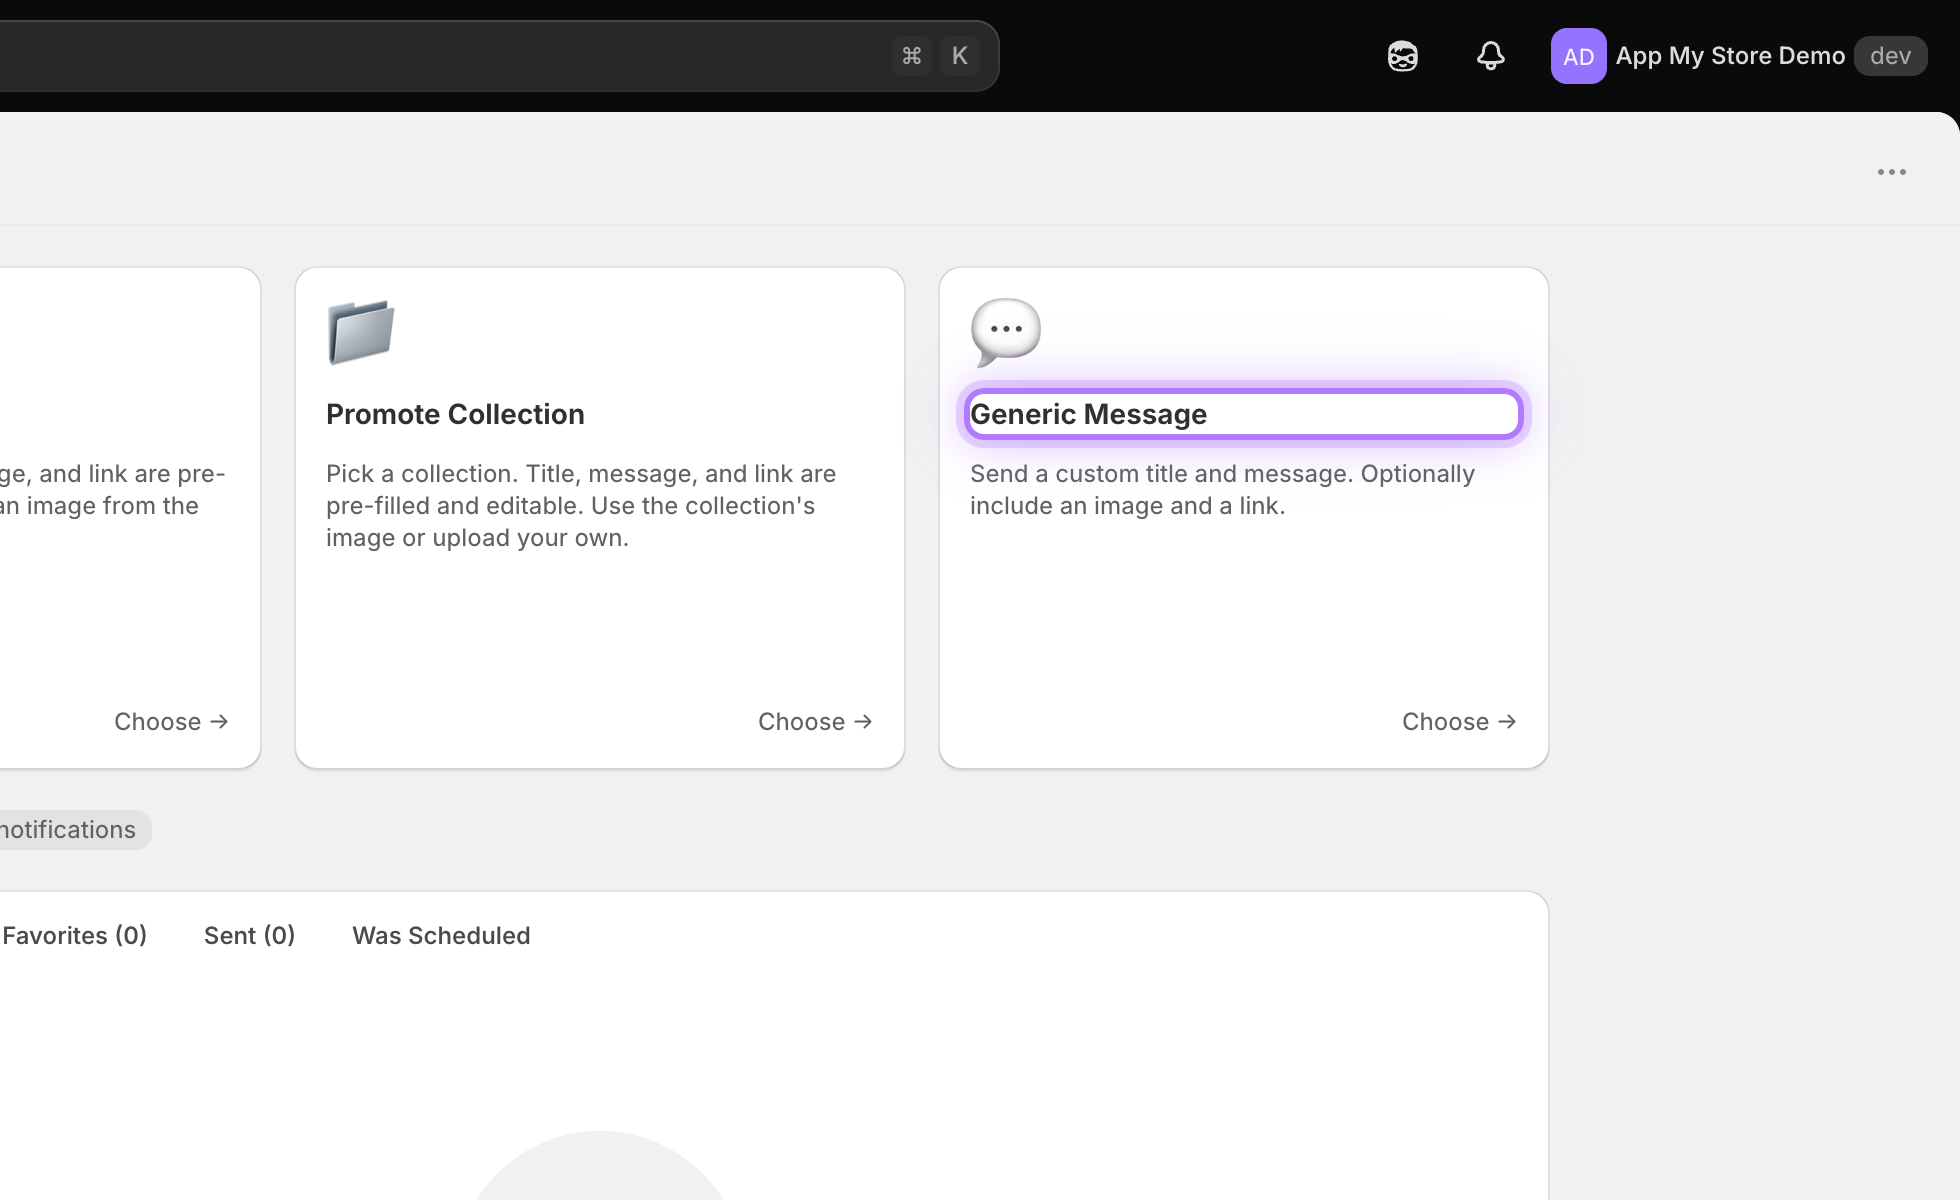
    Open Push Notifications from the channel, then start a new one. You can create a notification three ways: Promote a Product, Promote a Collection, or send a Generic Message. Pick the one that fits your campaign.
    Notification type cards
  2. 2

    Track your campaigns

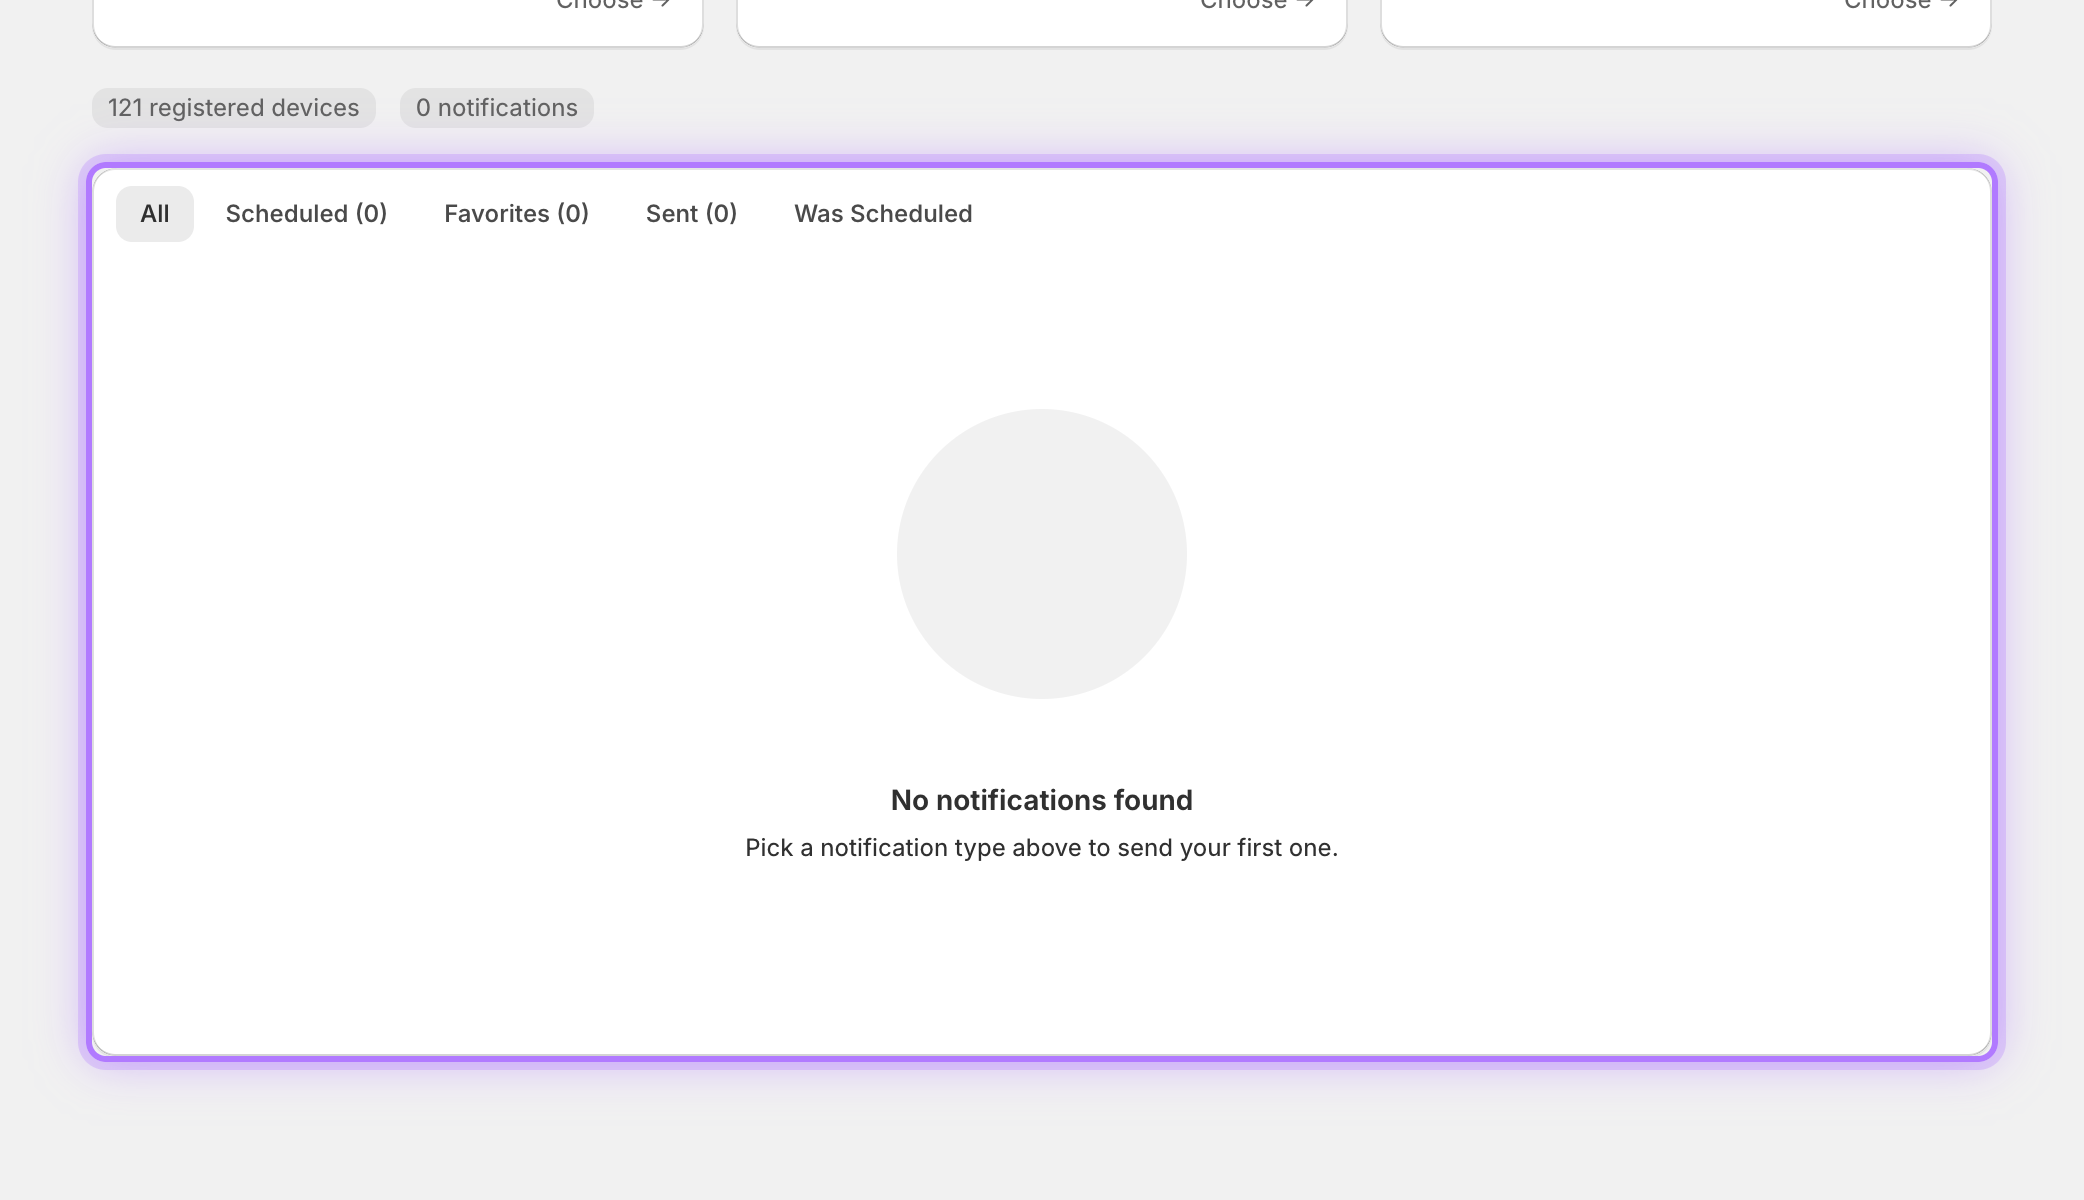
    Your notifications are organized into tabs, so you can see what is scheduled, sent, or saved as a draft at a glance.
    Campaign filter tabs
  3. 3

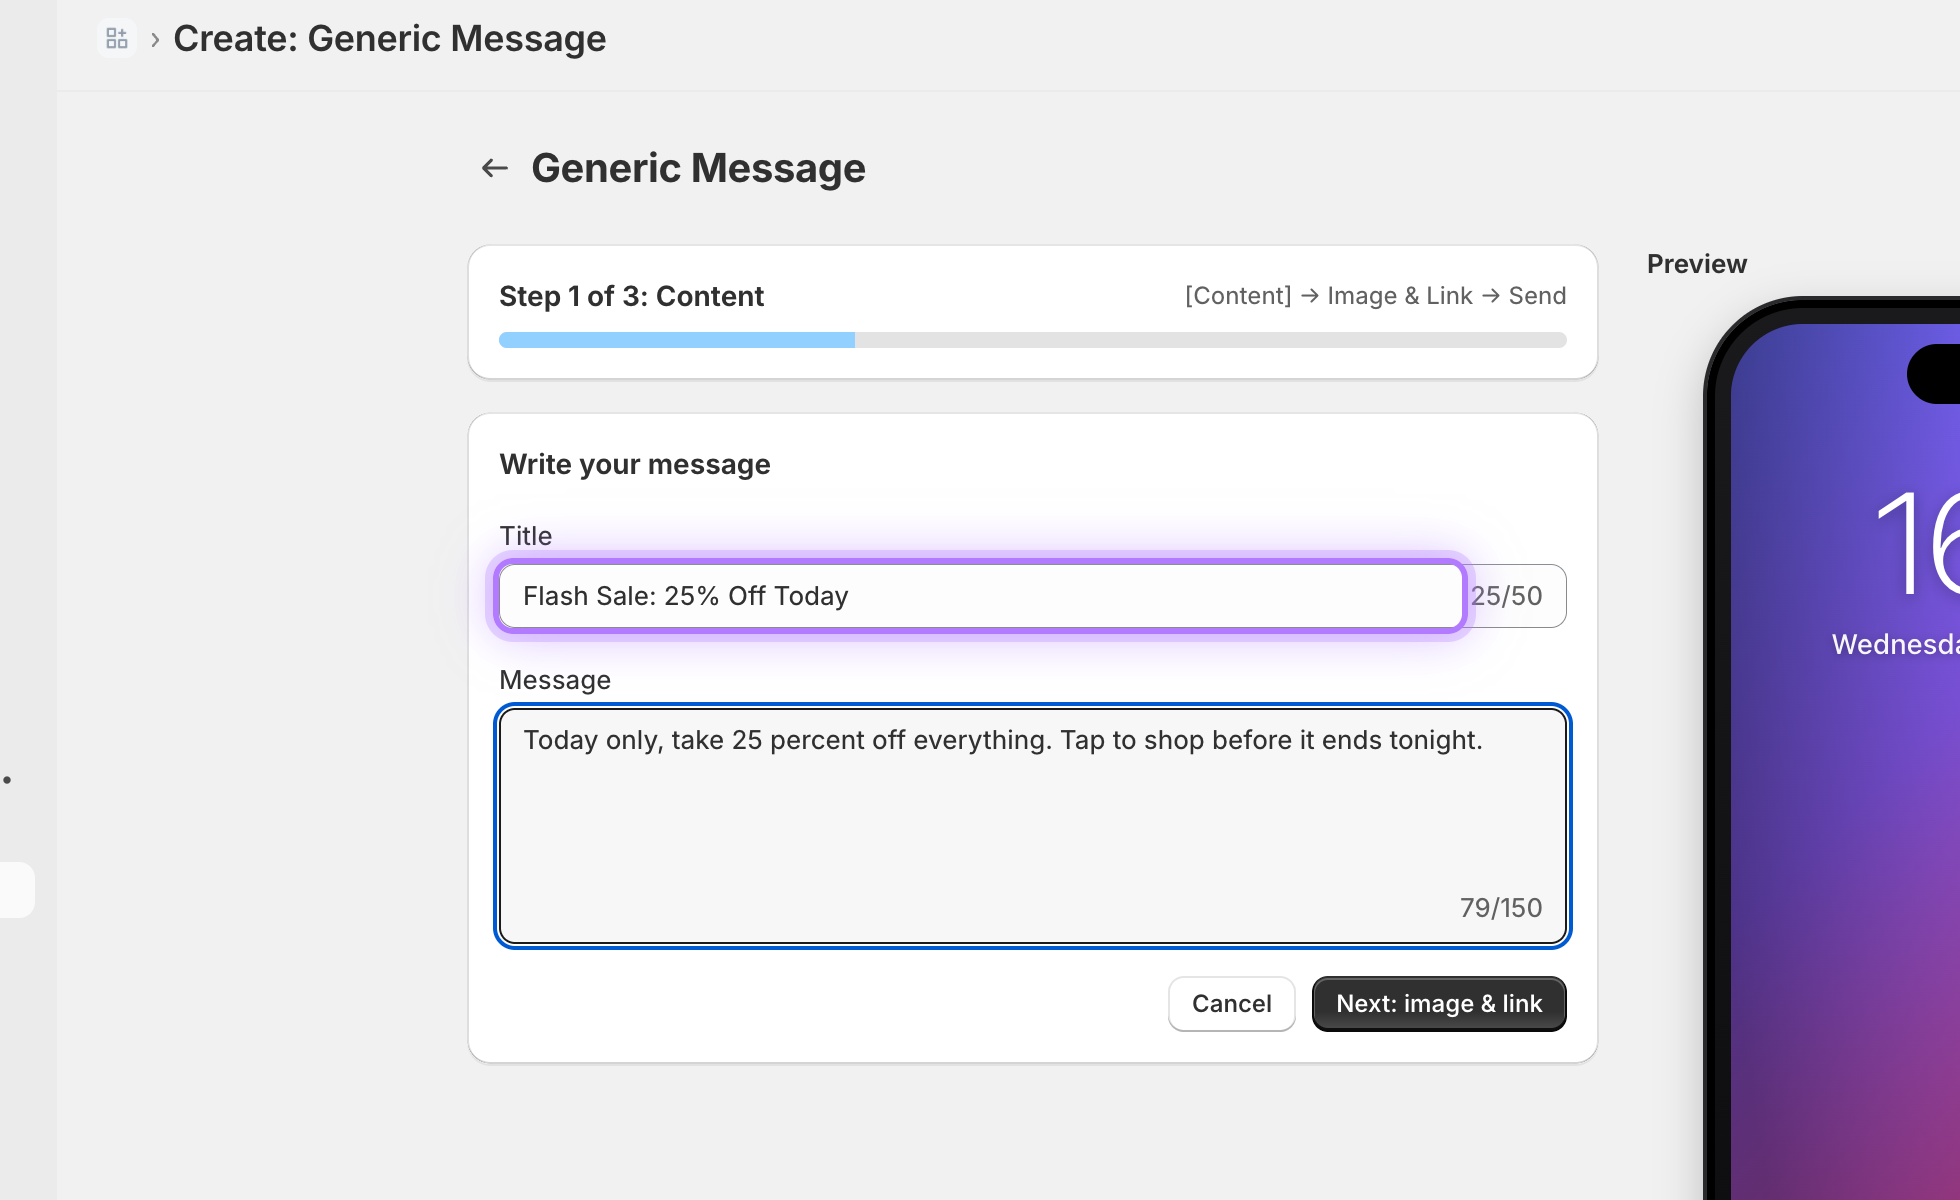
    Write your title

    In the wizard, the Title is the bold headline on the lock screen, up to 50 characters. Keep it short and punchy.
    Notification title field
  4. 4

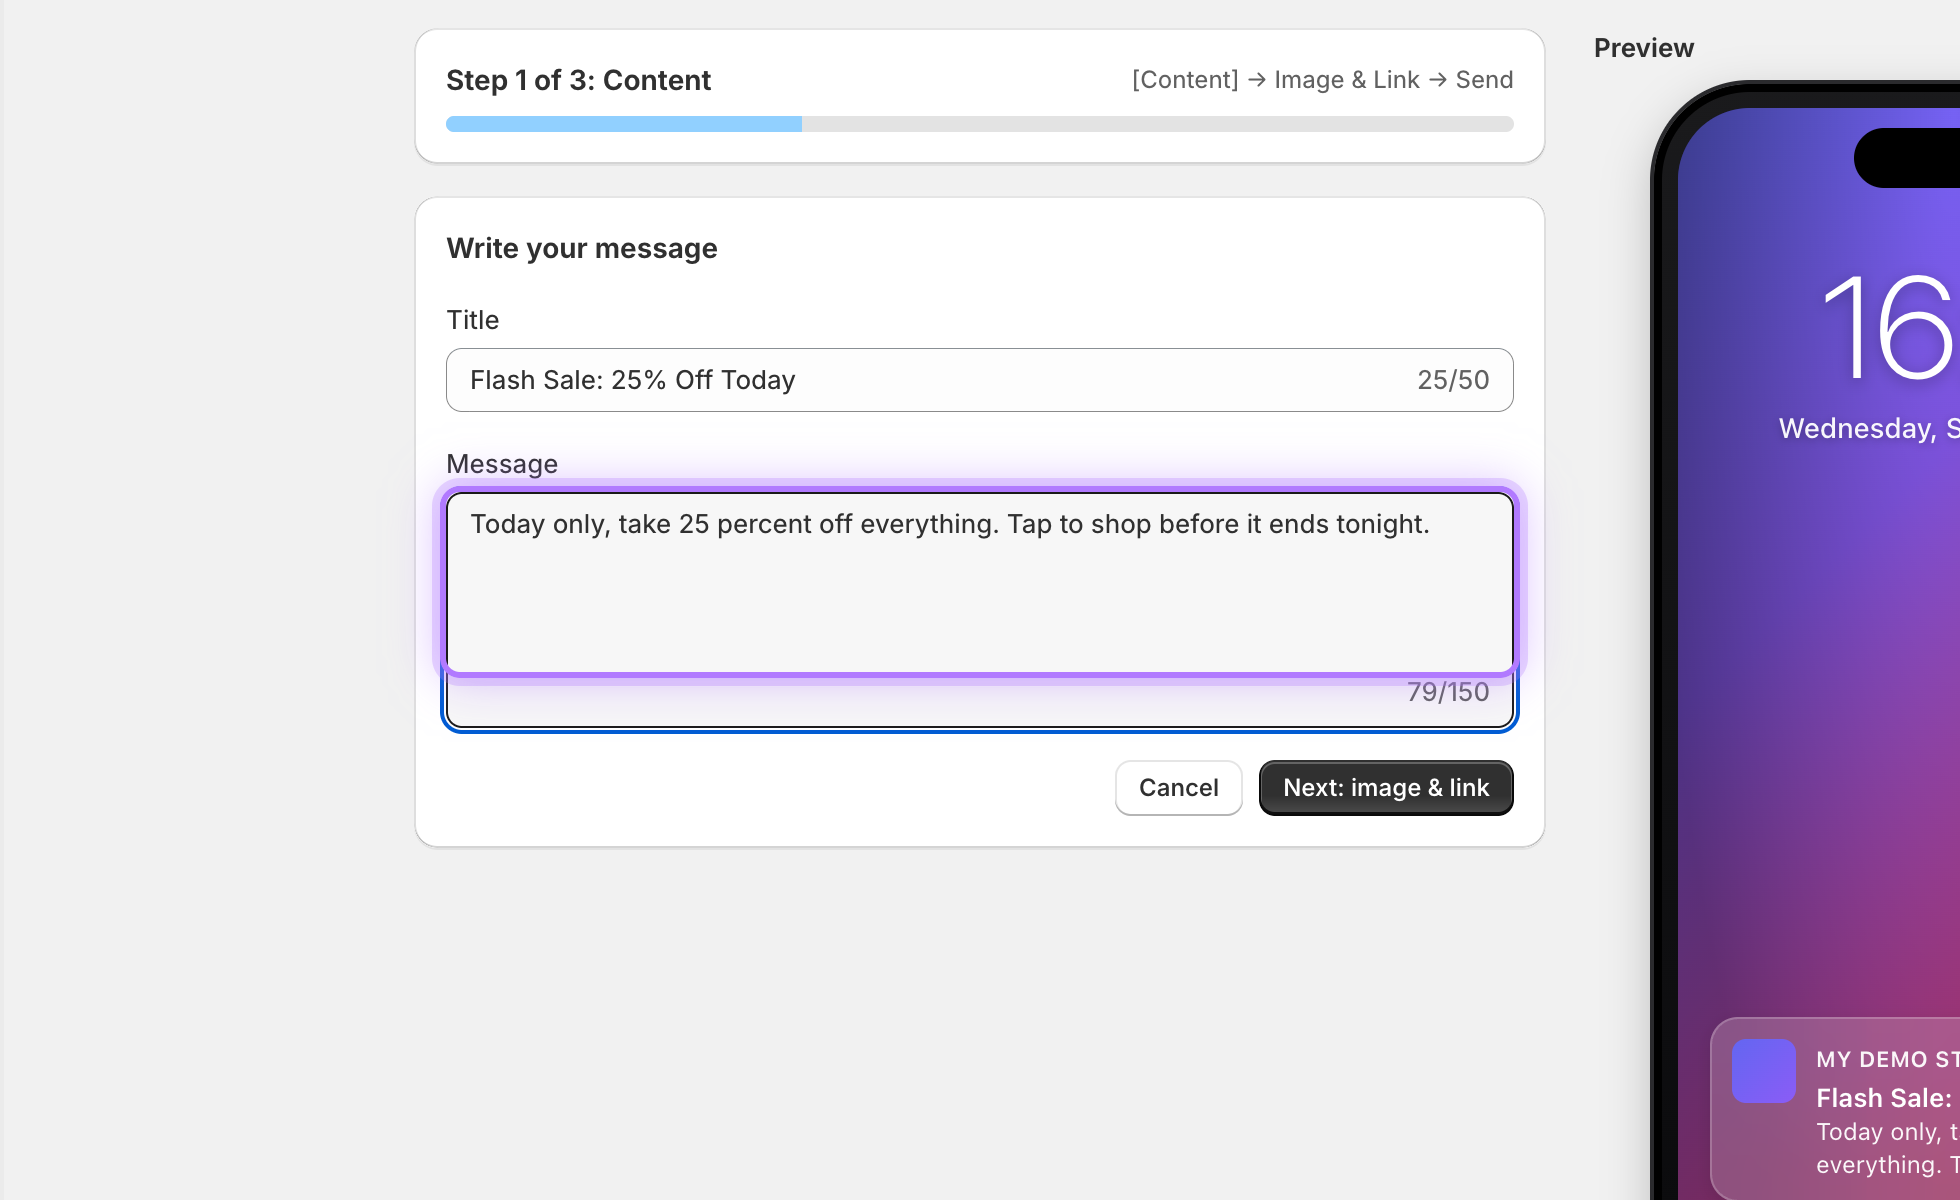
    Write your message

    The Message is the body text below the title, up to 150 characters. This is where you make your offer clear.
    Notification message field
  5. 5

    Preview, then send or schedule

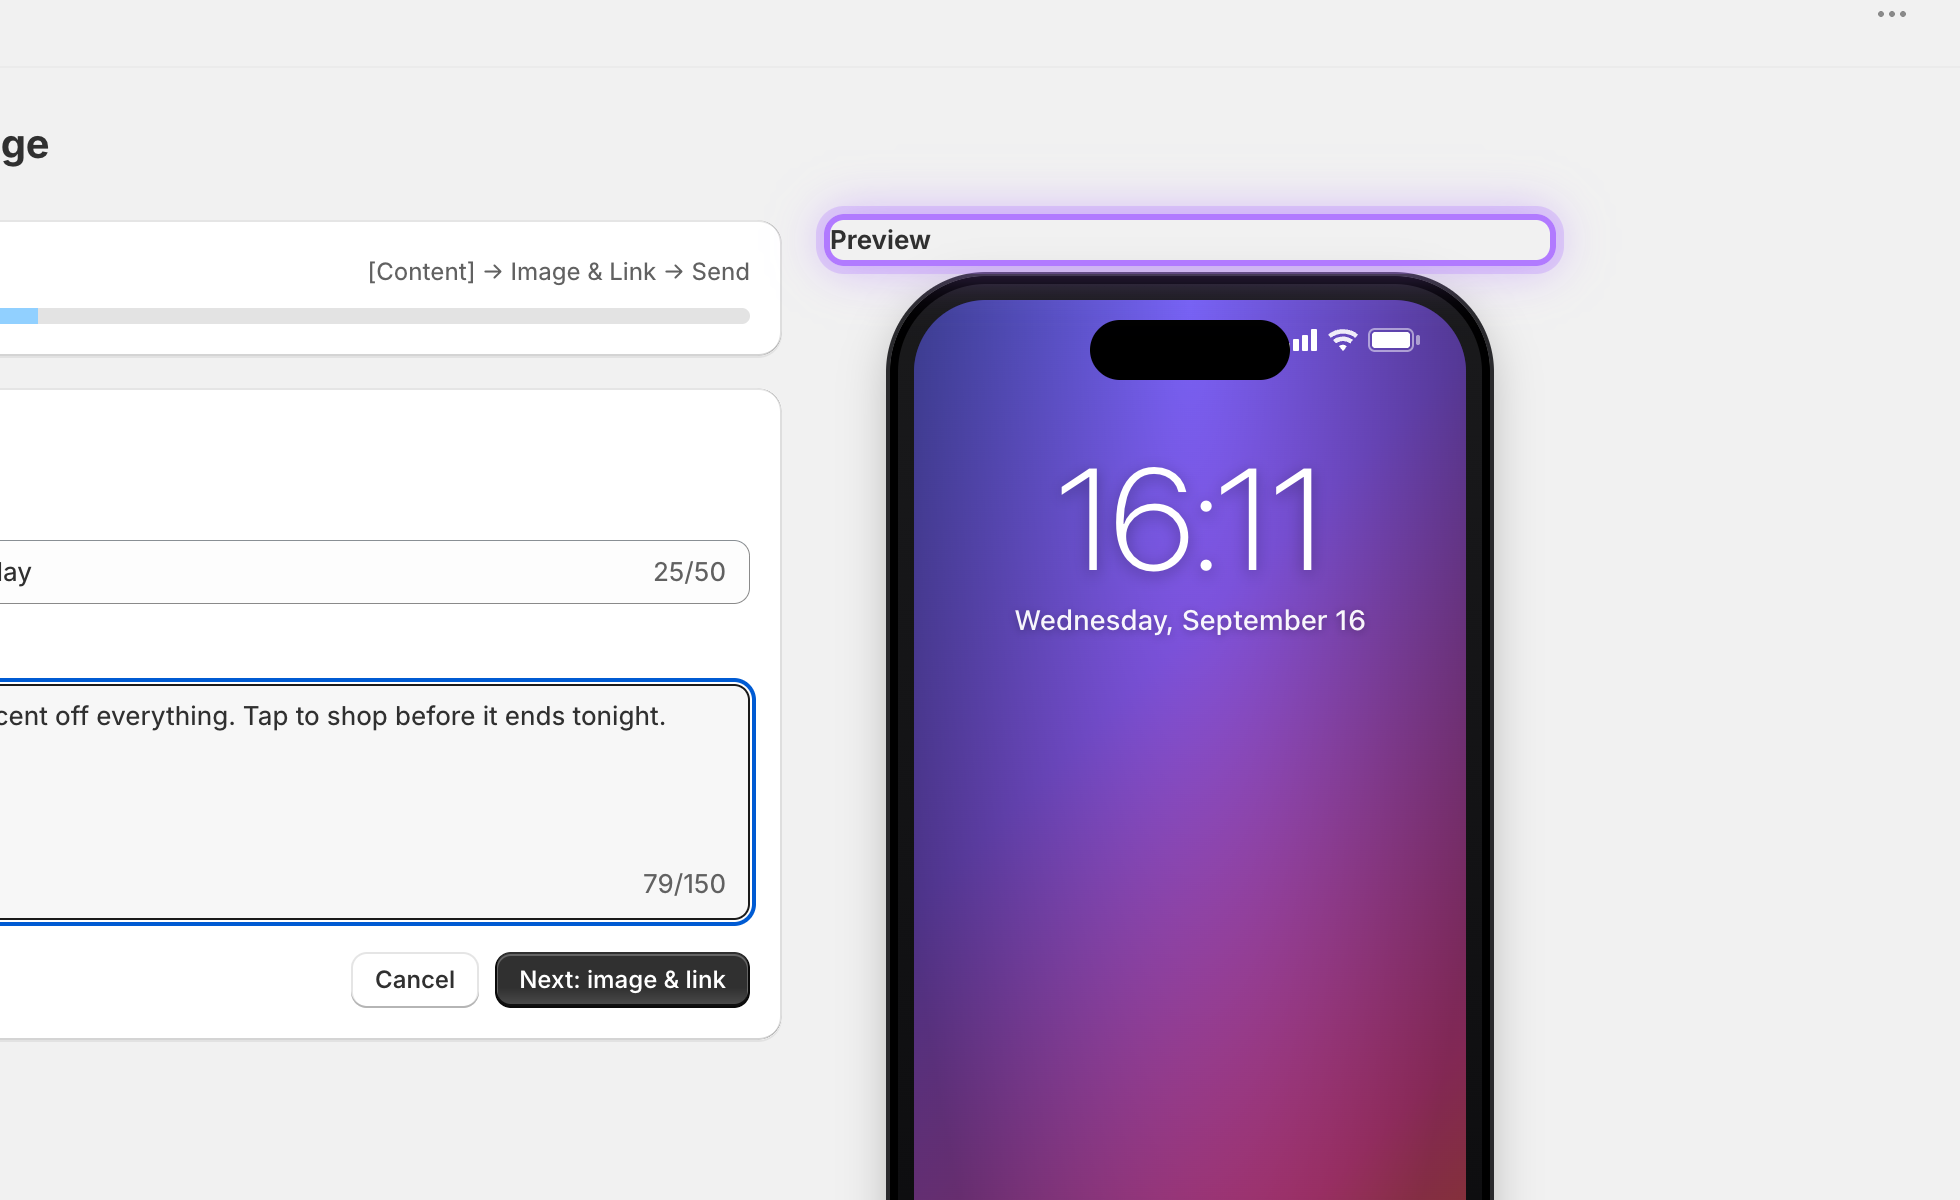
    A live phone preview shows exactly what customers will see, and updates as you type. Add an optional image and deep link, then send now or schedule it. Leave the send time empty to send right away.
    Live phone preview
Good to know: Notifications also reach the free AppMyStore Demo beta app, so you can test a campaign on your own phone before your app is live.
App My Store

Want to hear more details?

Fill out the form and we will get back to you as soon as possible.

    By submitting this form you agree that we process the details you provide in order to respond to your enquiry. See our Privacy Policy.