User Guide › Publish your app

Topic 1 of 6

Publish your app

The Publish App wizard turns your storefront into native iOS and Android apps. It is a guided six-step form, and everything up to payment is free. You can even preview the finished app on your phone before you subscribe.
  1. 1

    Open the wizard

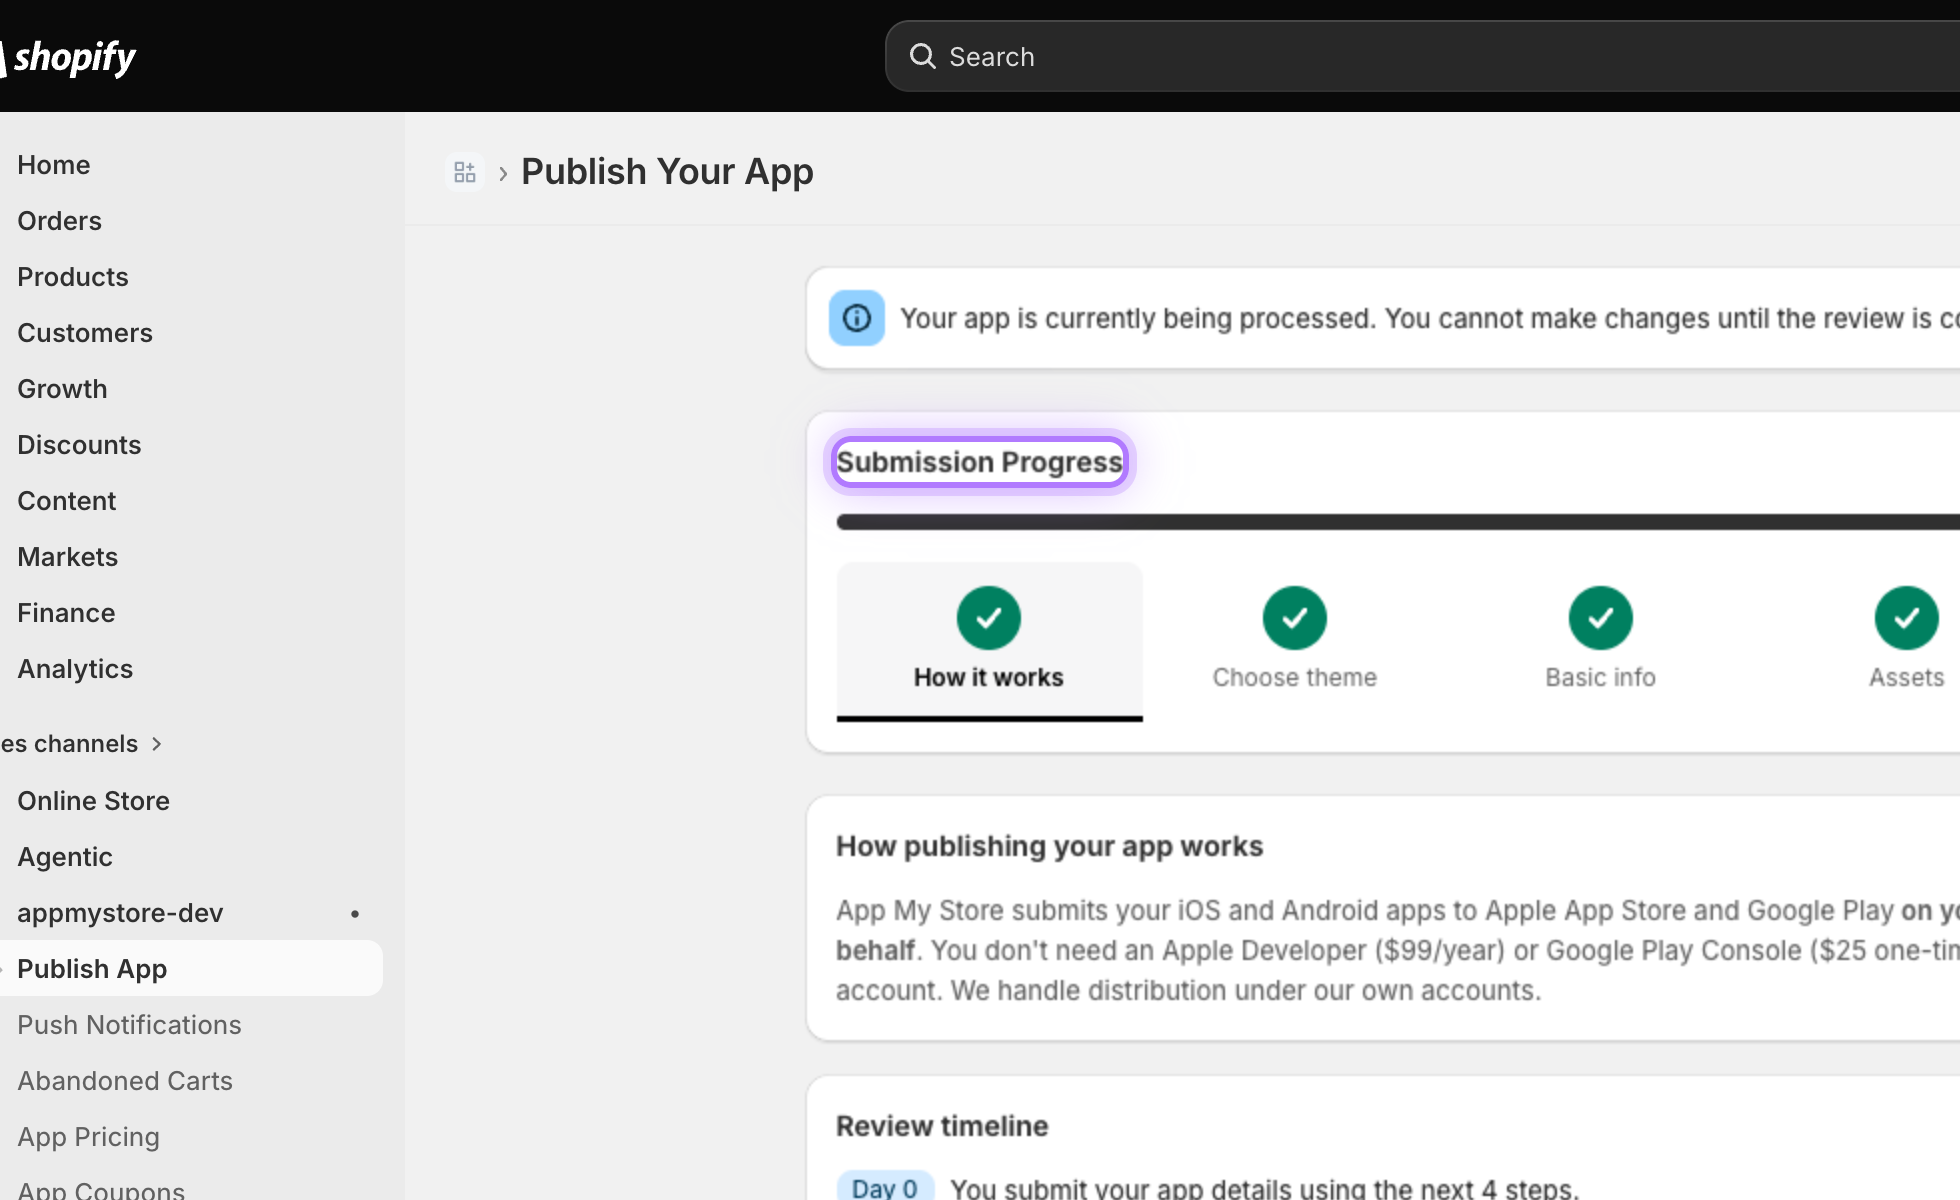
    In your Shopify admin, open the App My Store channel in the left sidebar and click Publish App. The Submission Progress bar tracks all six steps. Move forward with the button at the bottom of each step, or click any visited step to jump back.
    Submission Progress stepper
  2. 2

    Pick a preset theme

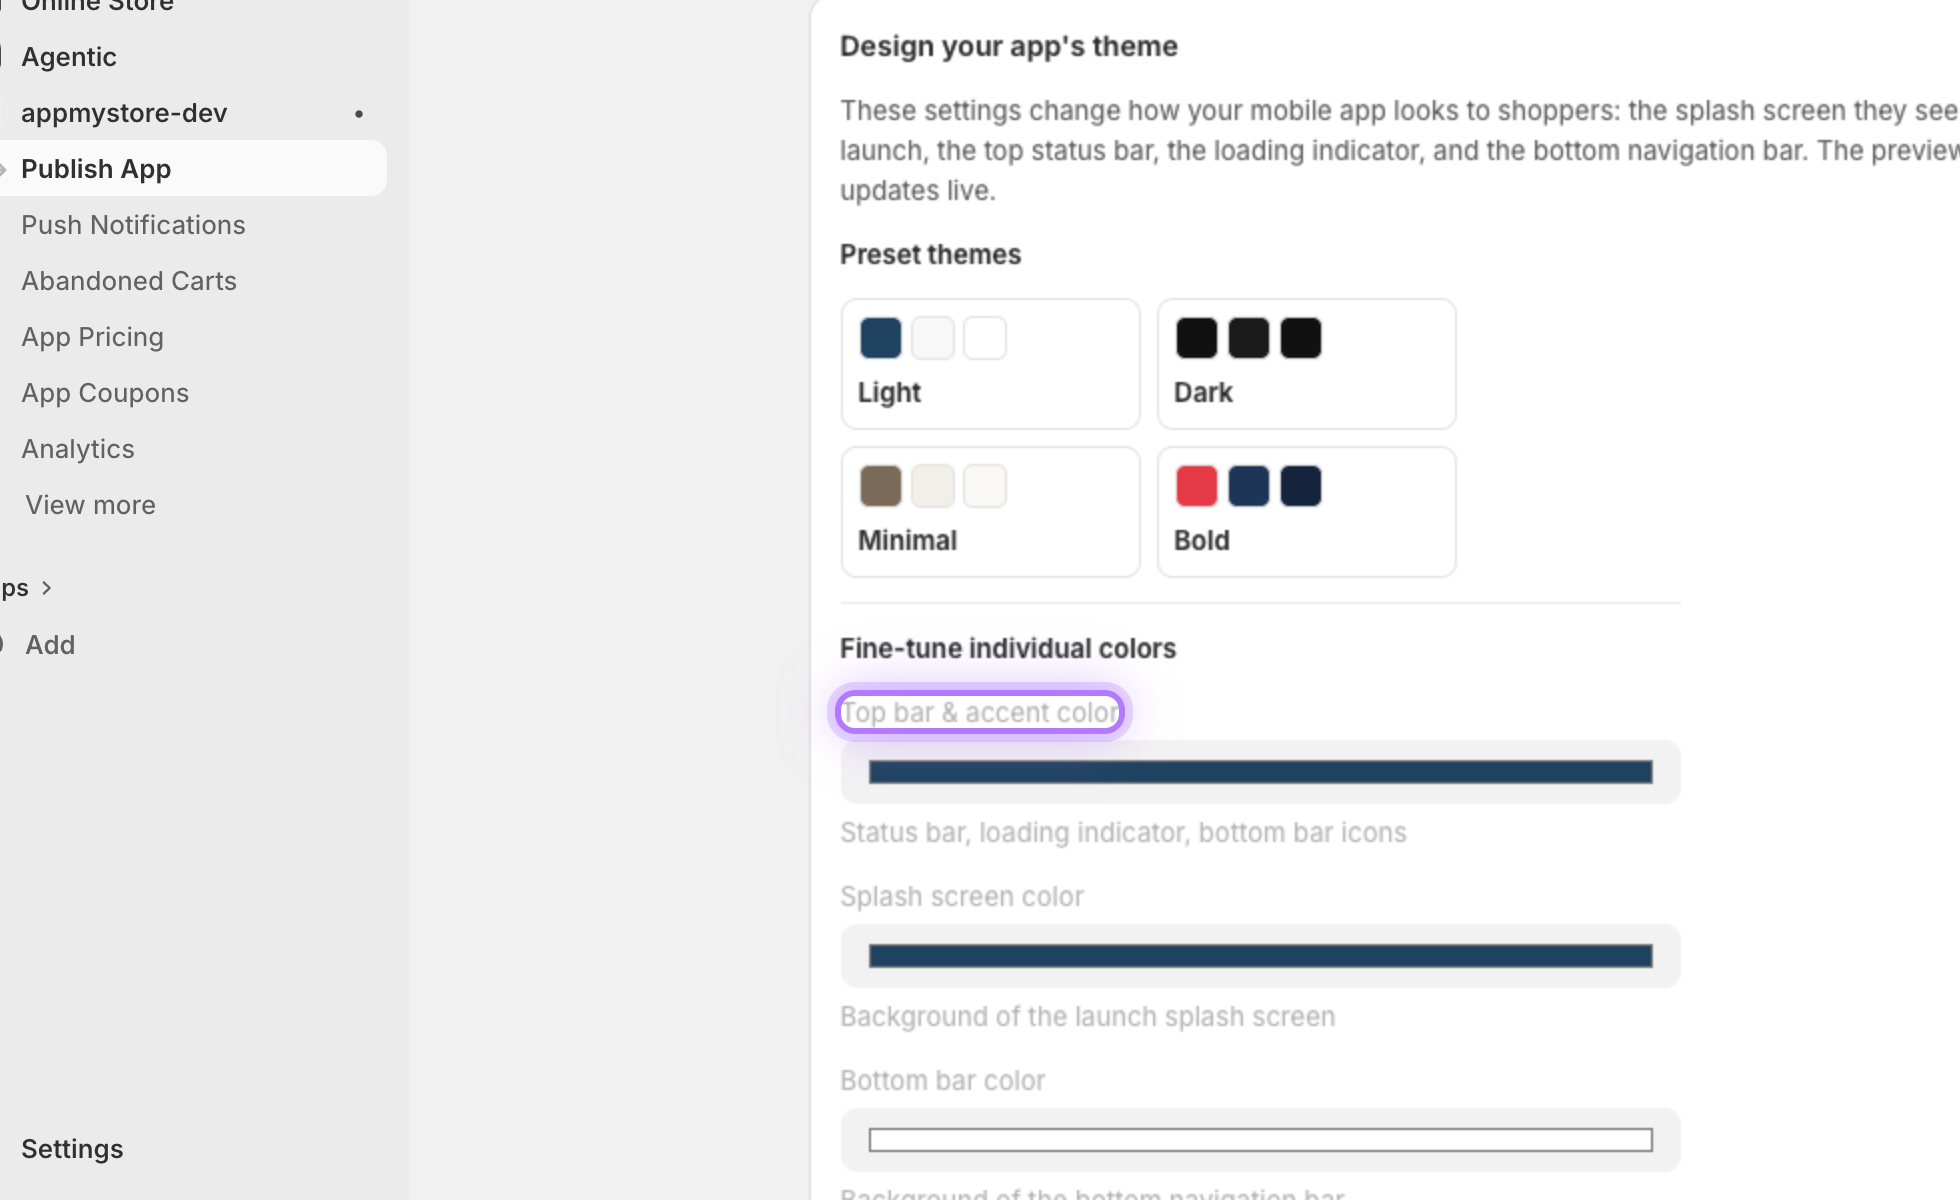
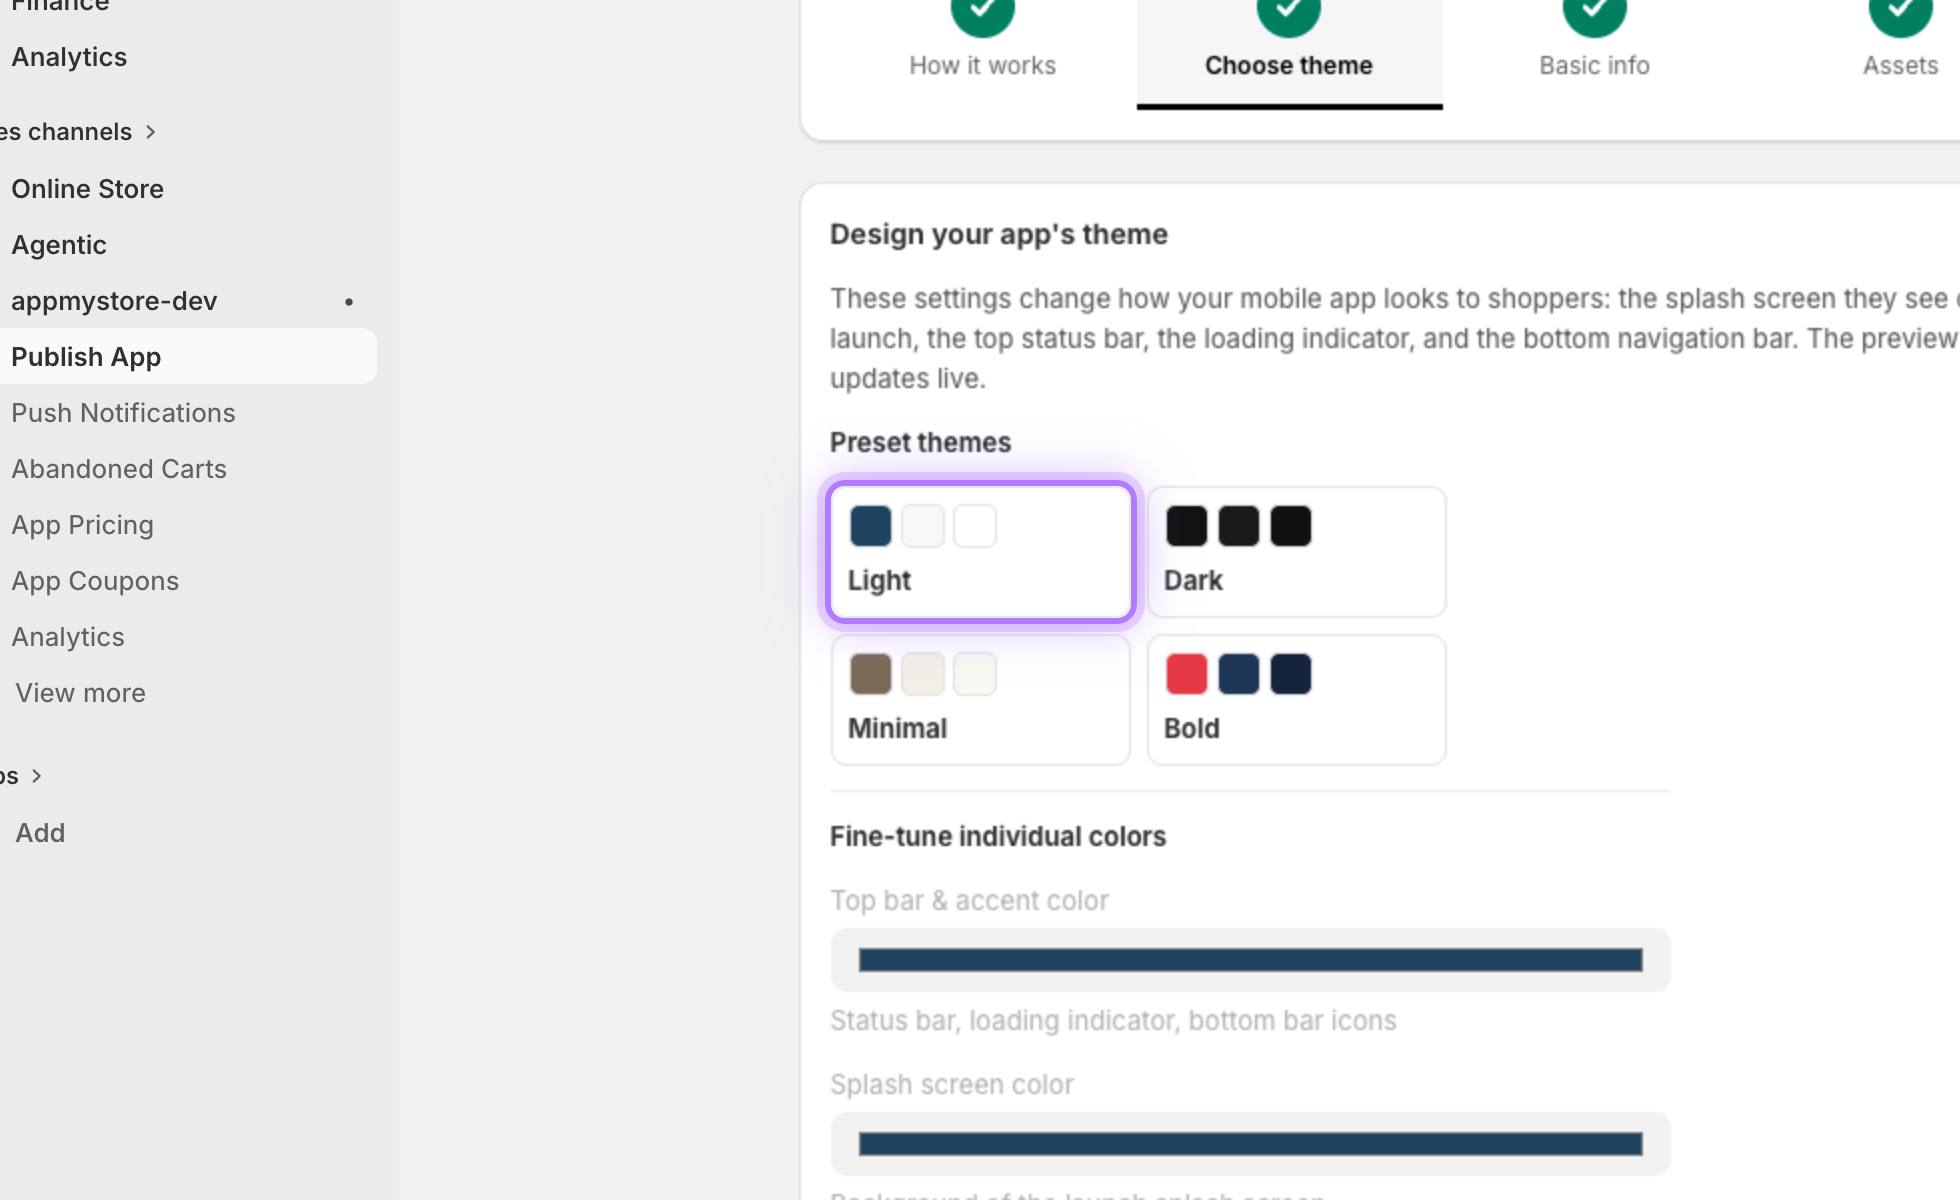
    On Step 2, Choose theme, the fastest way to style your app is a preset. Each preset is a coordinated color set, click one and your whole app updates instantly.
    Preset themes
  3. 3

    Fine-tune your colors

    Prefer full control? Set three individual colors: the top bar and accent color, the splash screen color, and the bottom bar color.
    Theme color pickers
  4. 4

    Check the live preview

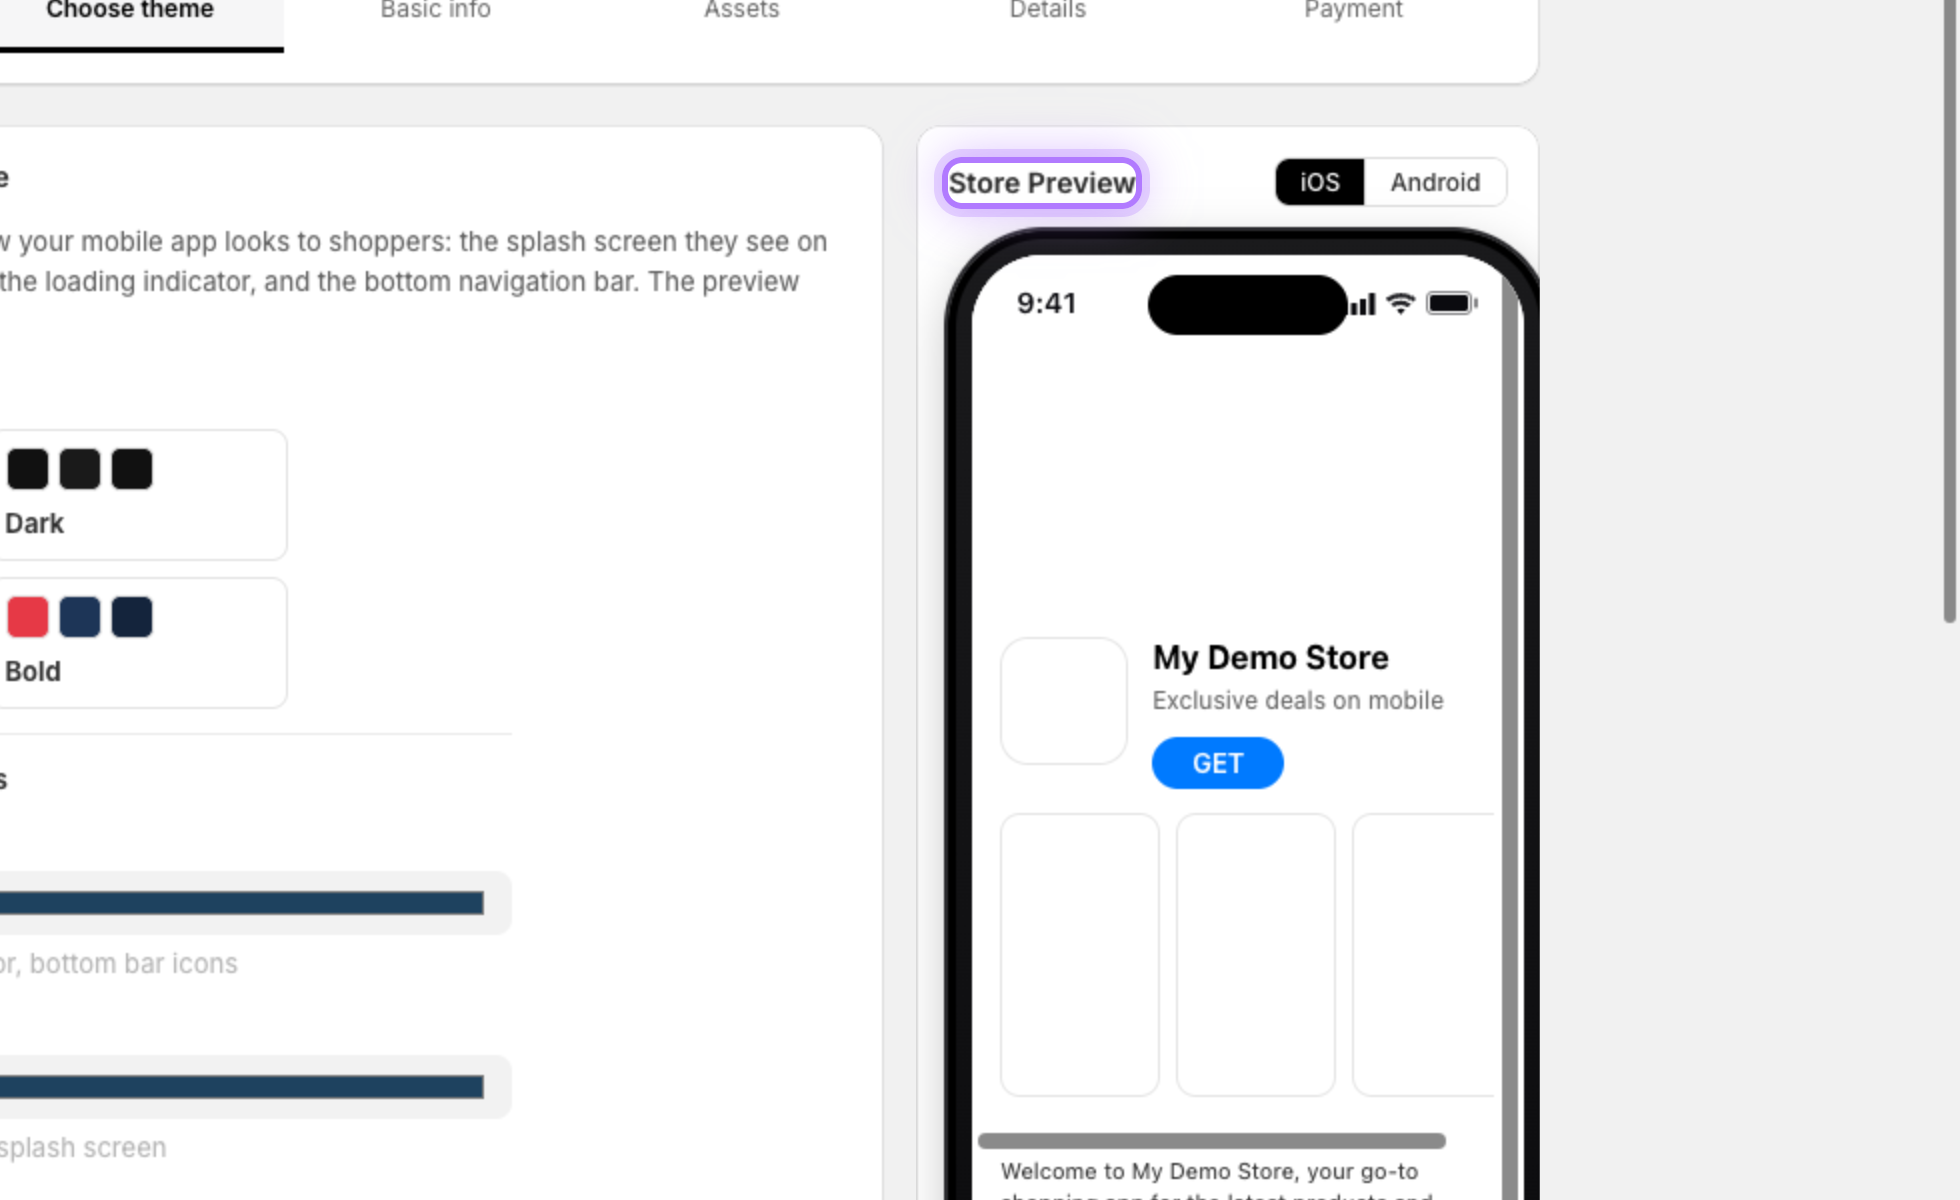
    The Store Preview on the right updates in real time as you choose. You can change these colors later from Settings without a new app store release.
    Live theme preview
  5. 5

    Name your app

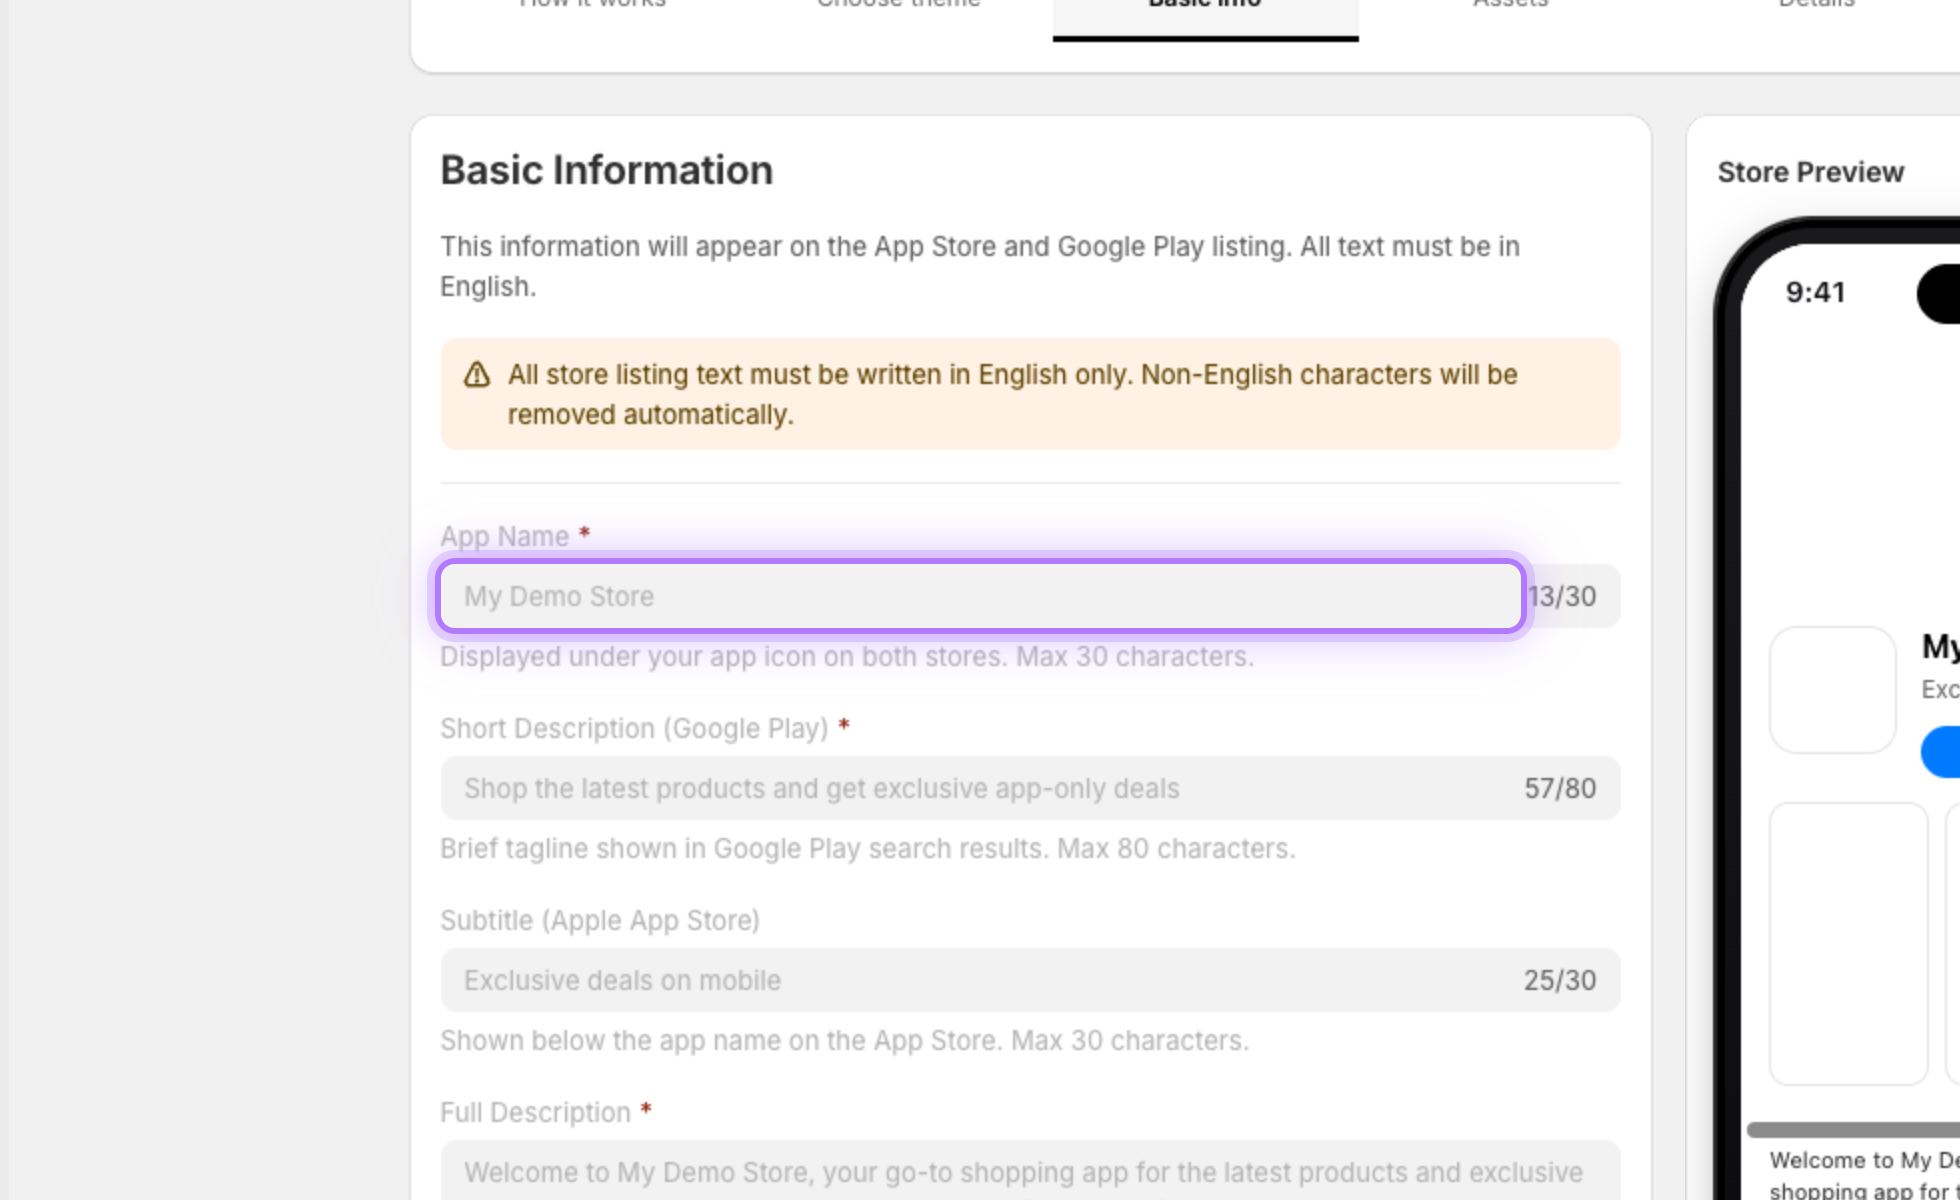
    On Step 3, Basic info, enter your App Name, the first thing customers see under your icon on both stores. You have 30 characters, and a counter updates as you type.
    App name field
  6. 6

    Write your full description

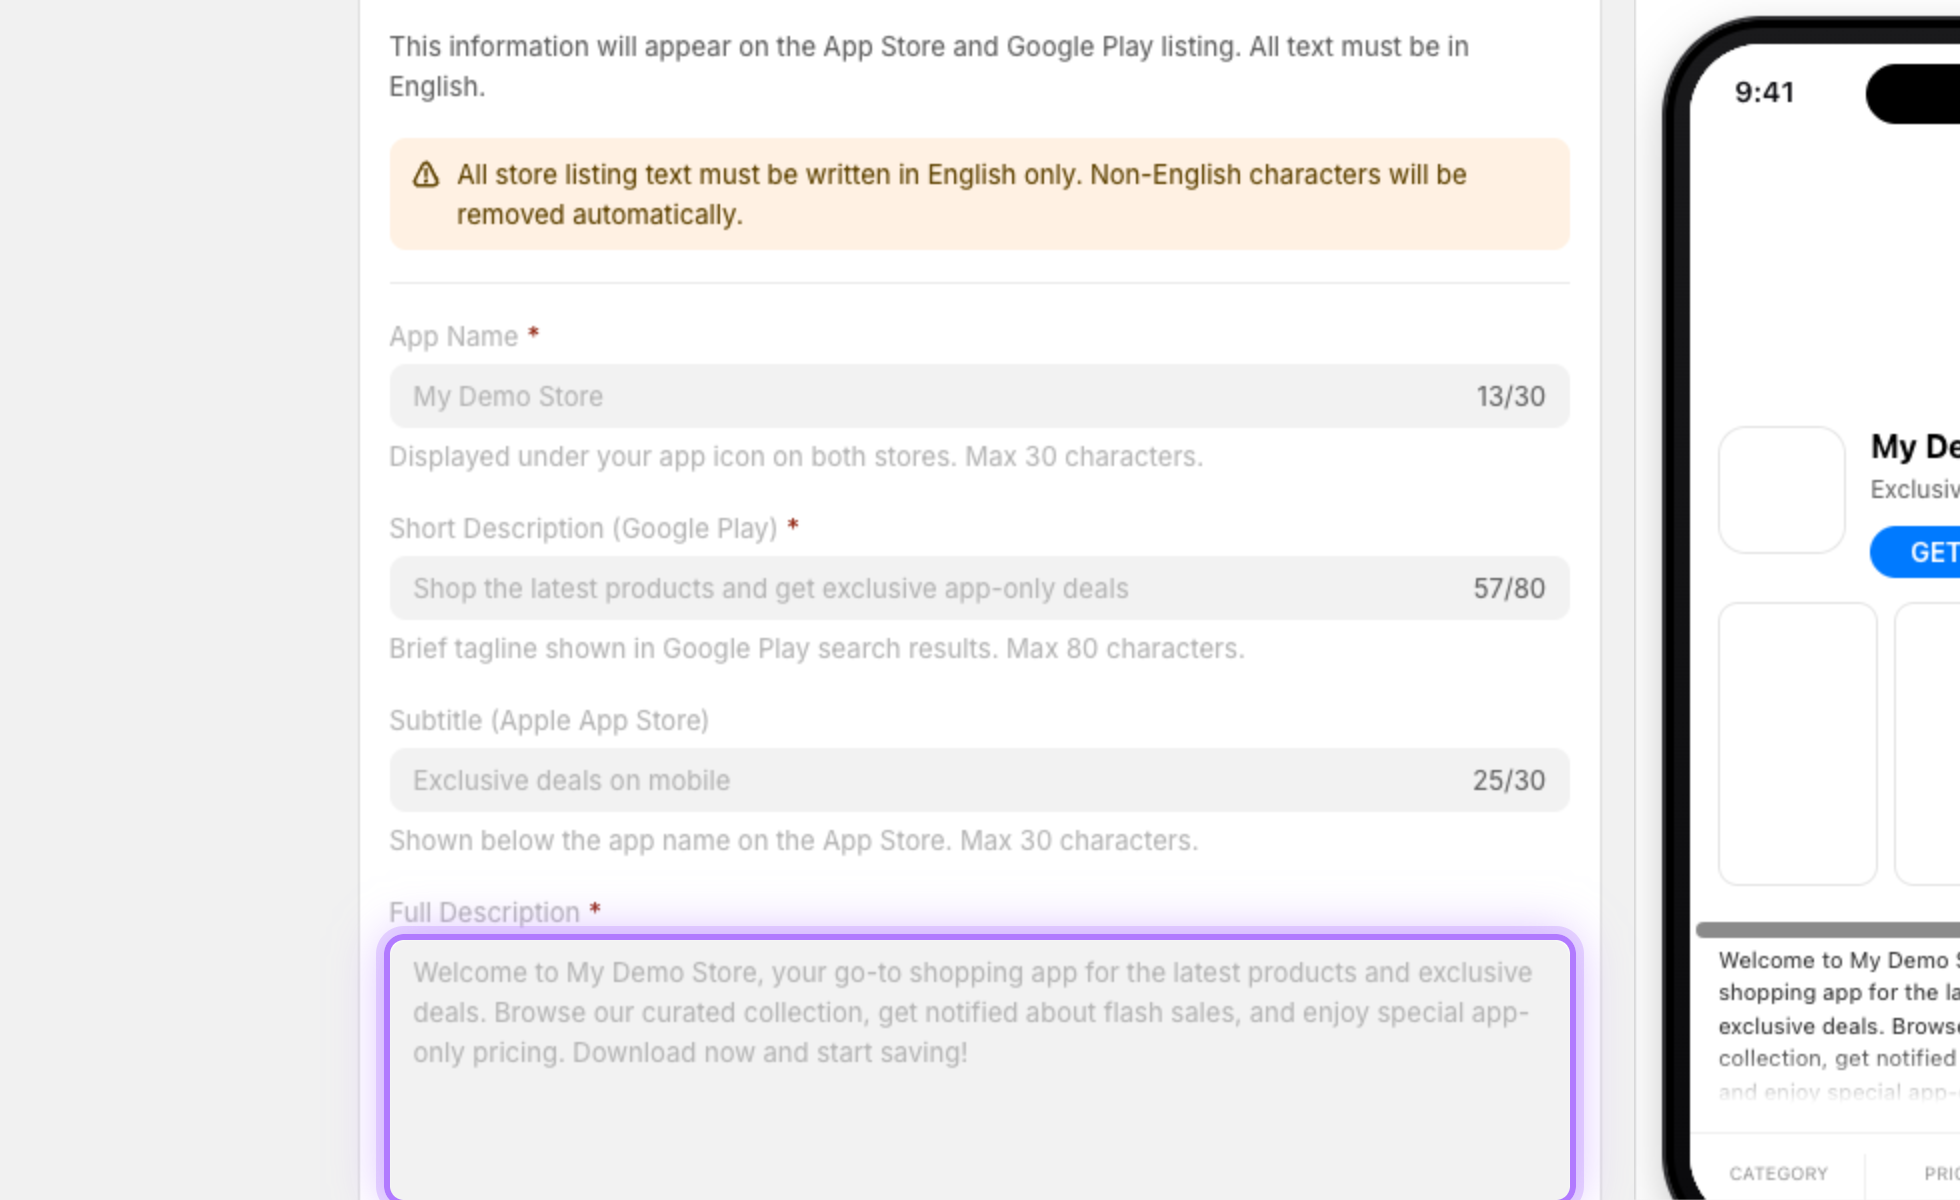
    The Full Description is your main sales pitch, with up to 4,000 characters to describe your features, benefits, and what makes your store special.
    Full description field
  7. 7

    Add keywords

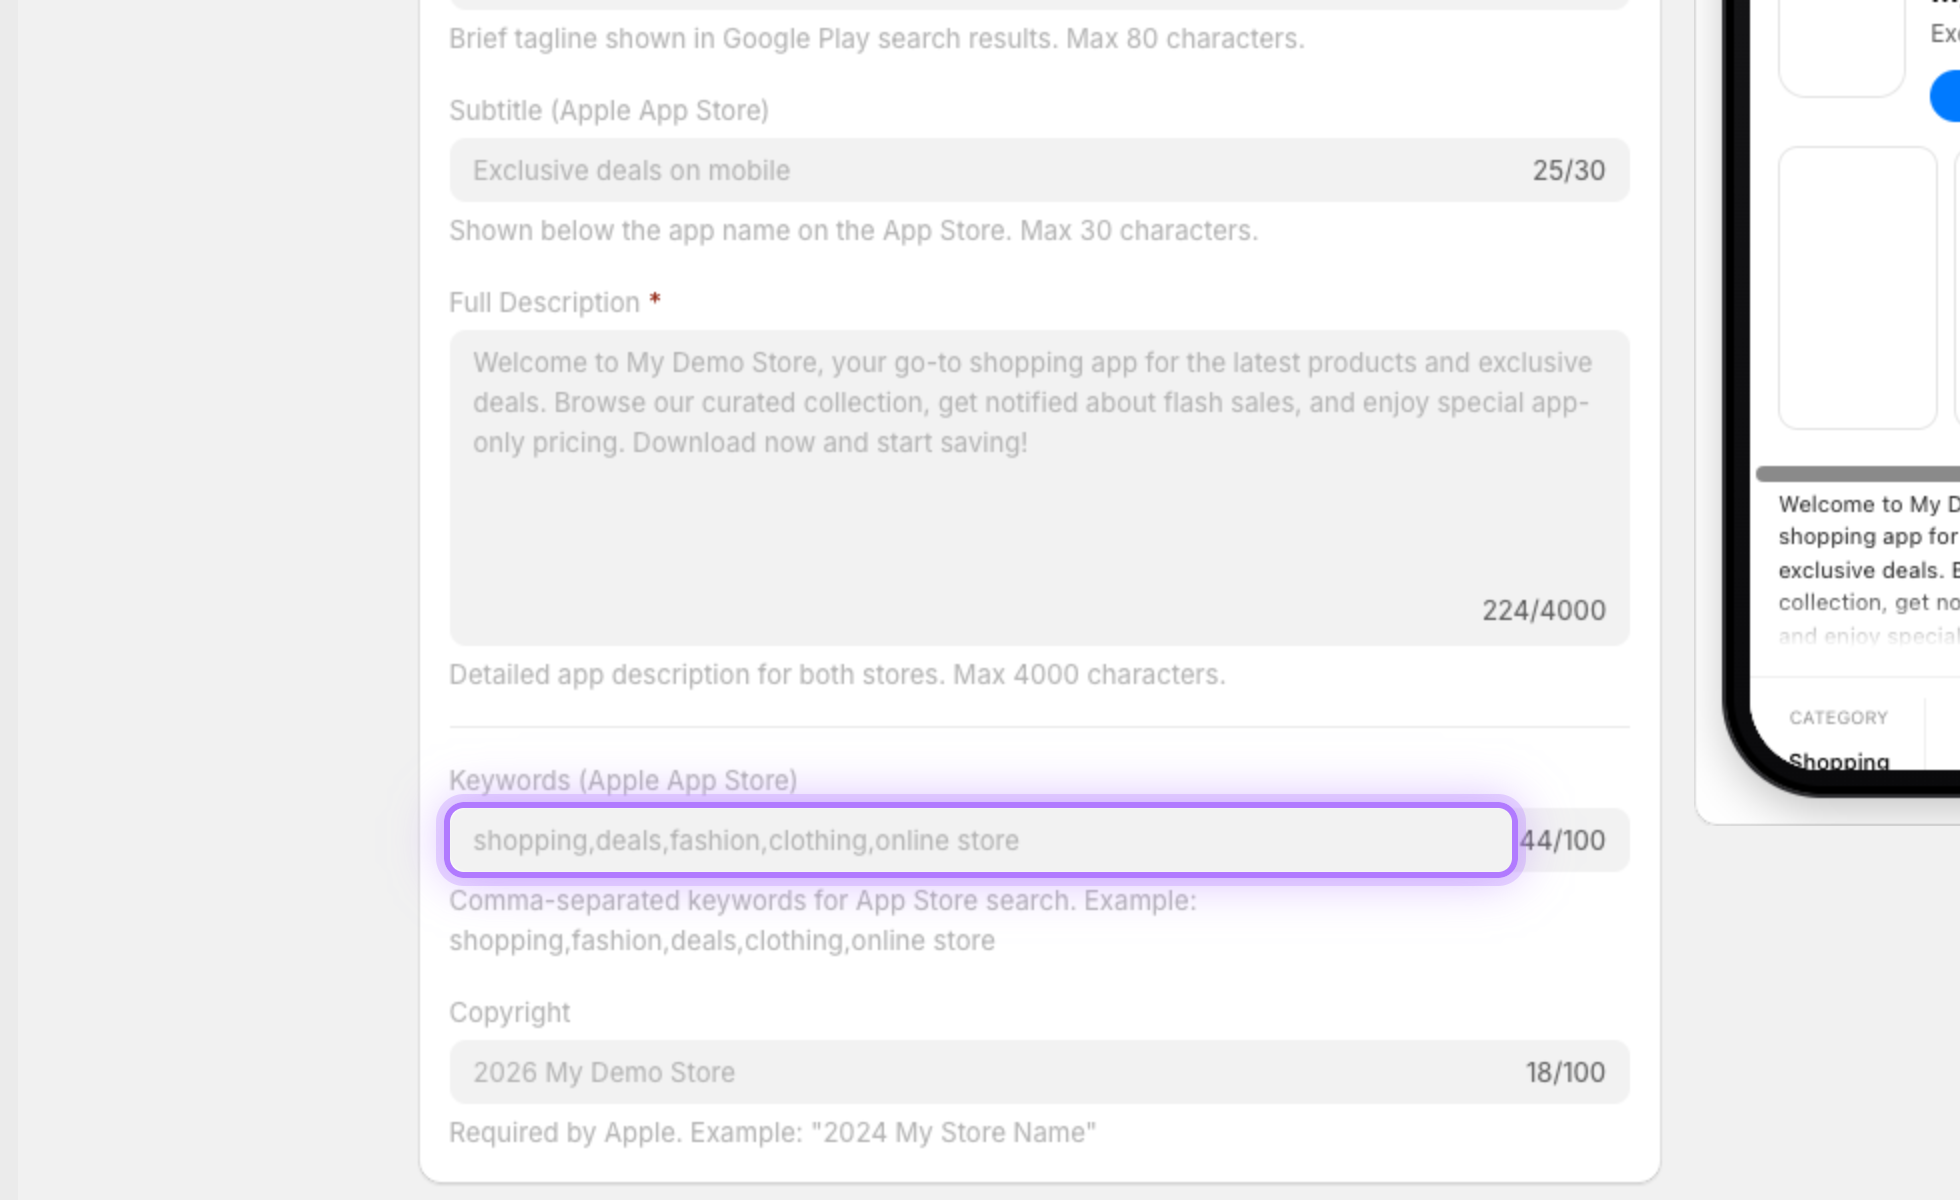
    Keywords help customers discover your app in the Apple App Store. Separate them with commas and use words your customers would actually search for.
    Keywords field
  8. 8

    Upload your app icon

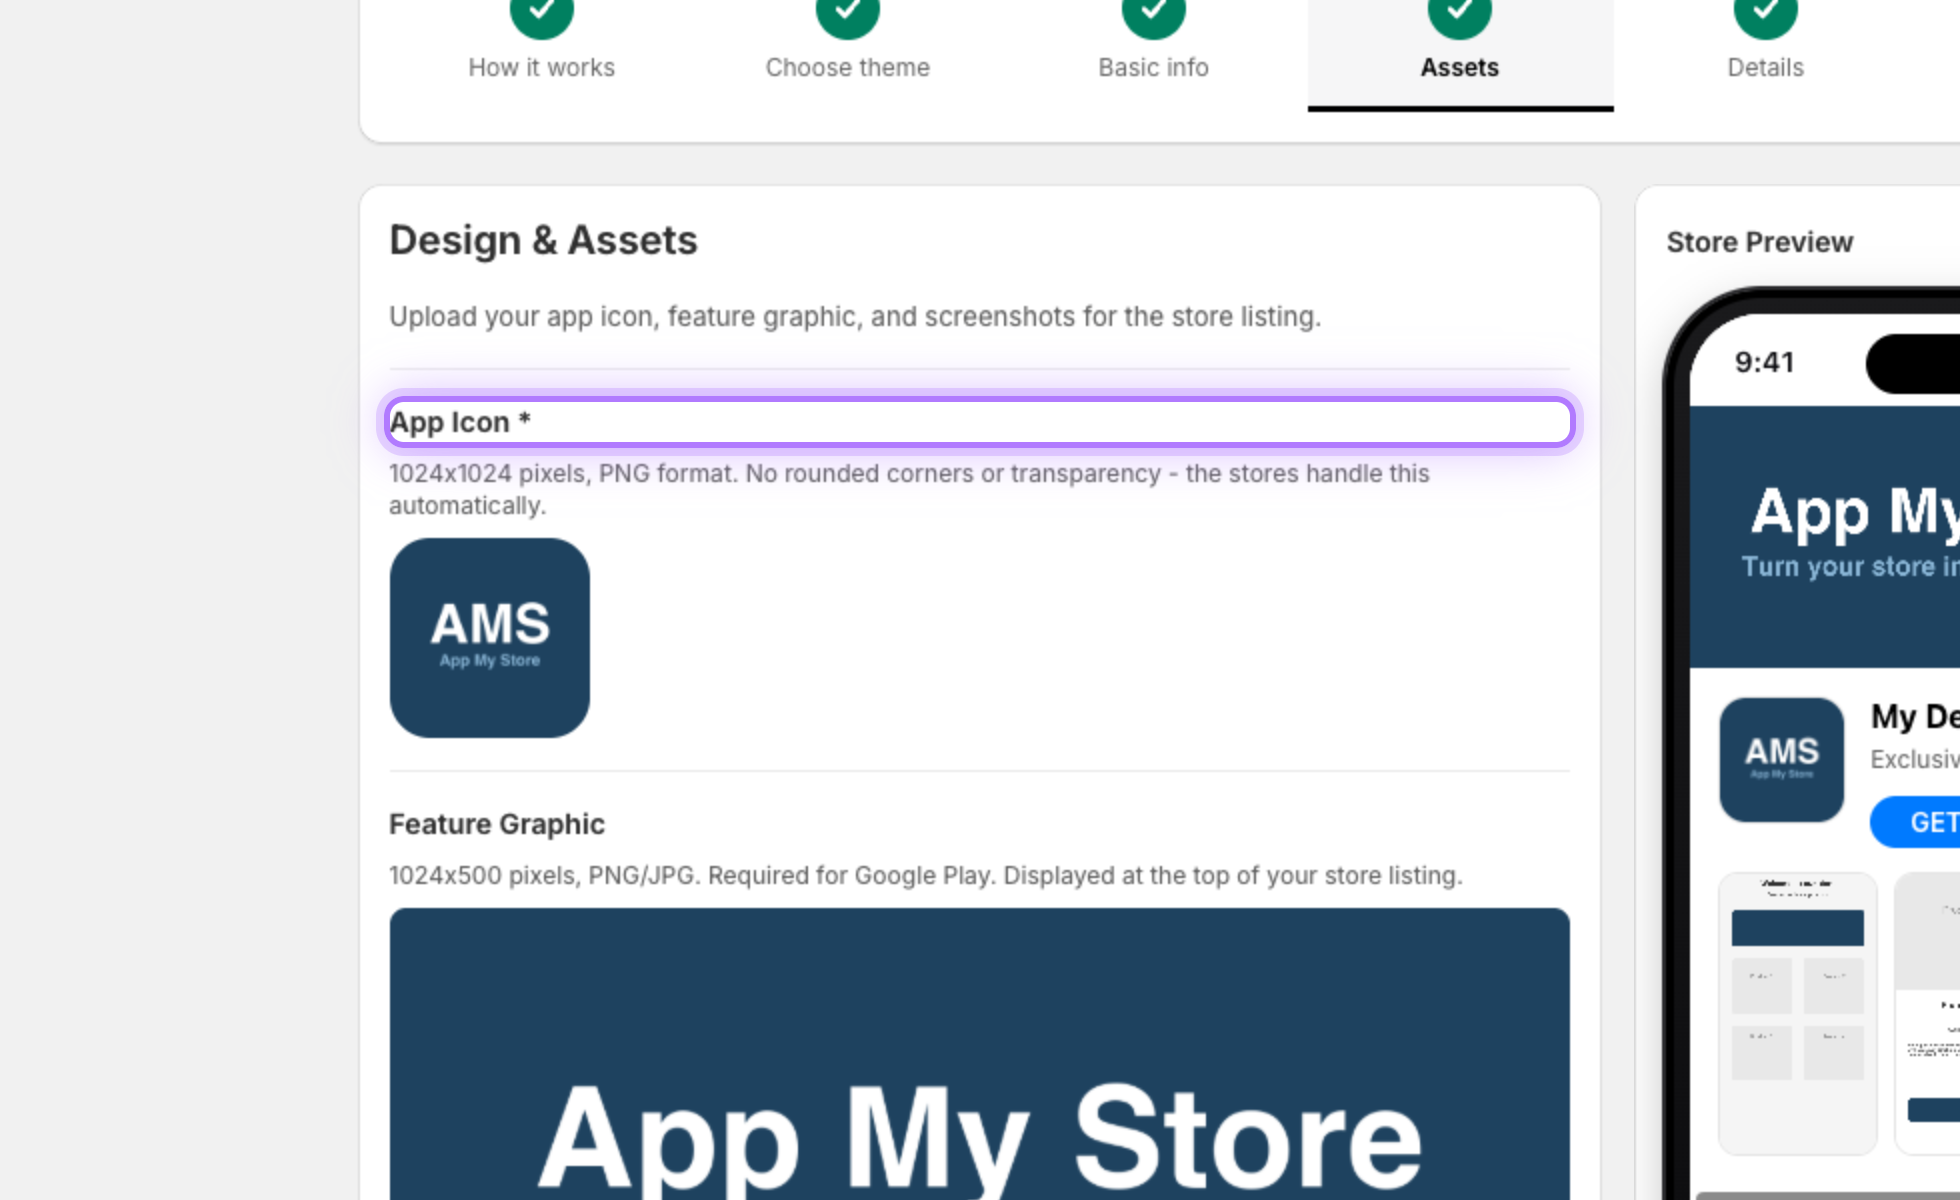
    On Step 4, Assets, upload your App Icon, the most important visual. Use a high-quality square PNG, 1024 by 1024 pixels. Once uploaded, it previews for both stores.
    App icon upload
  9. 9

    Add screenshots

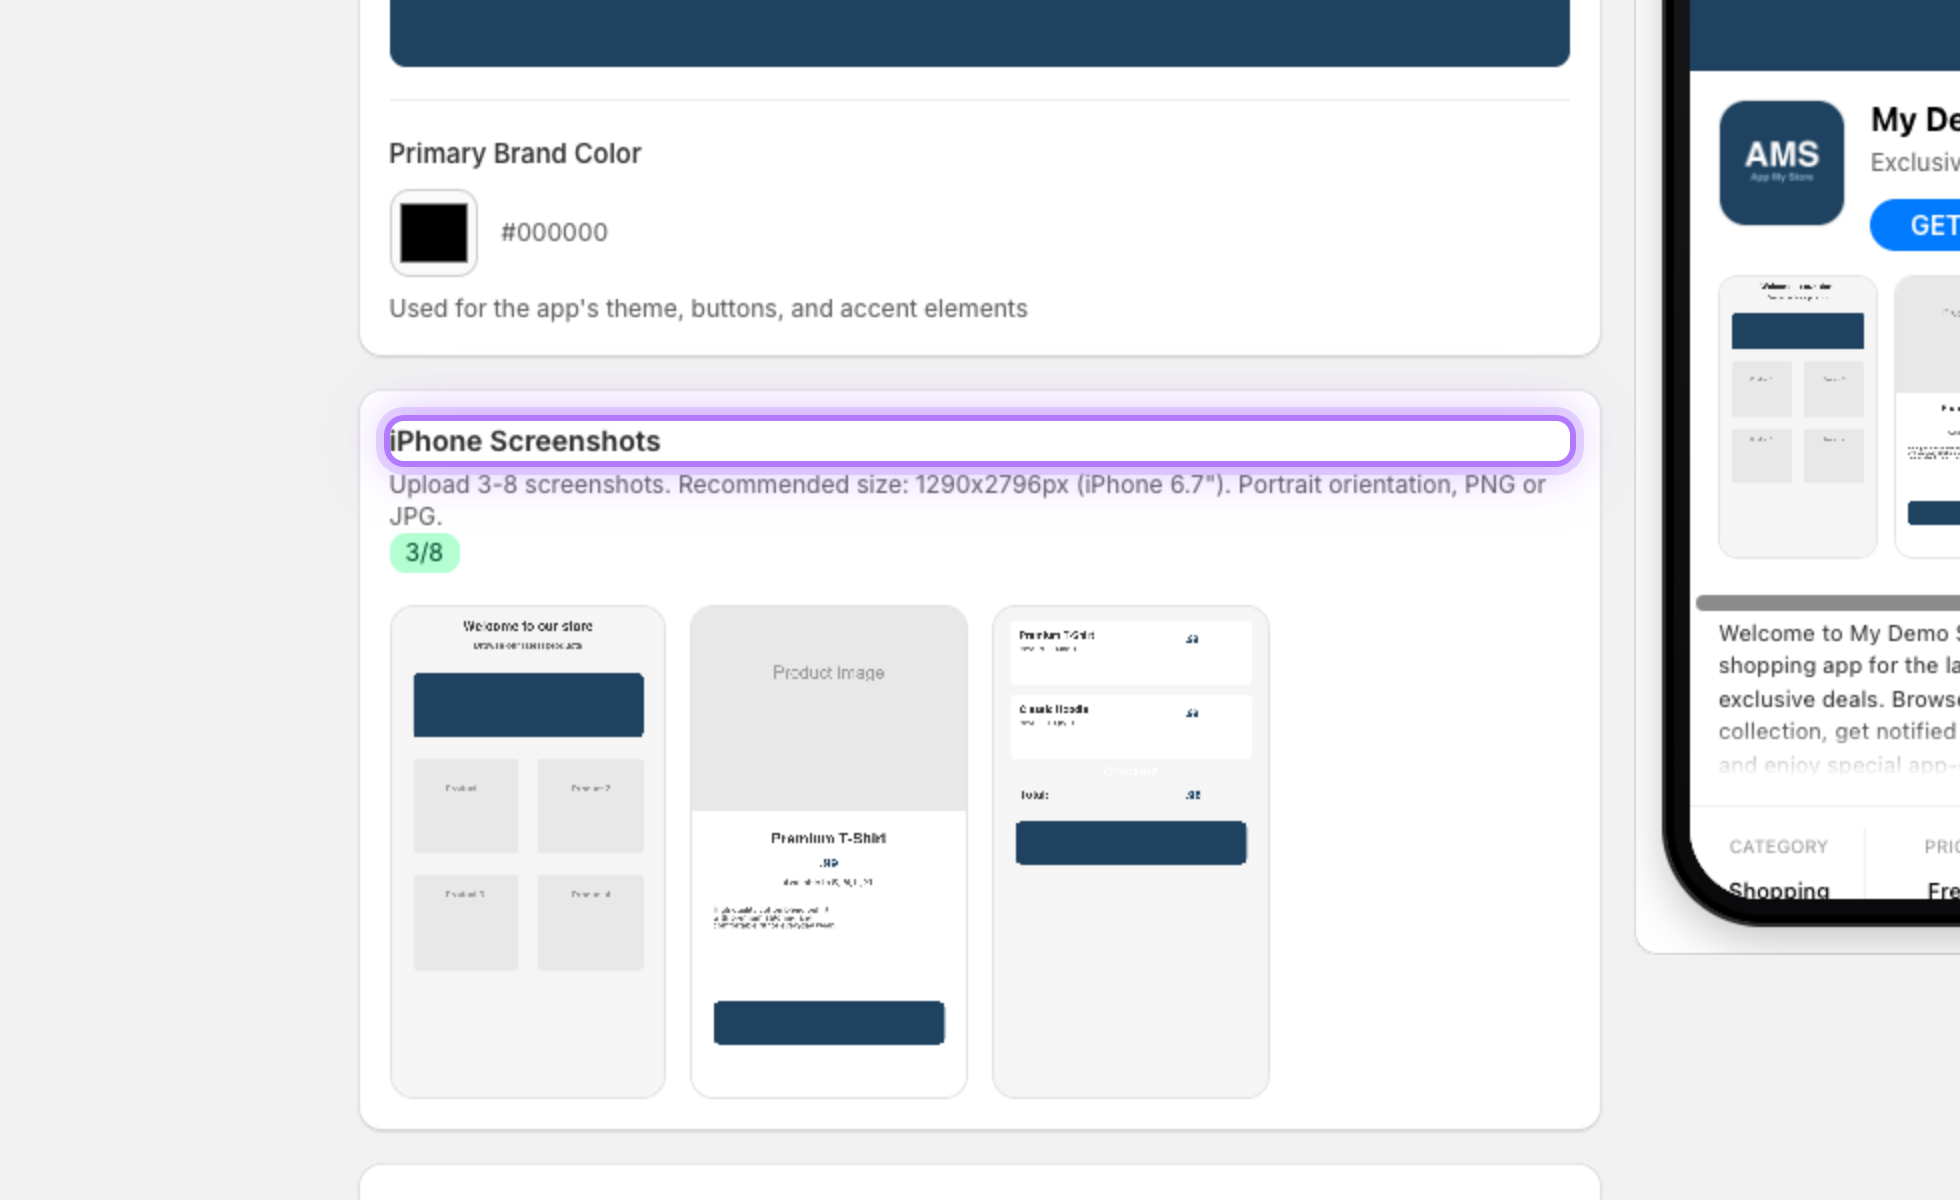
    Add at least three iPhone screenshots in portrait orientation (and iPad screenshots if your app supports iPad). These show customers exactly what your app looks like.
    Screenshots upload
  10. 10

    Enter your contact email

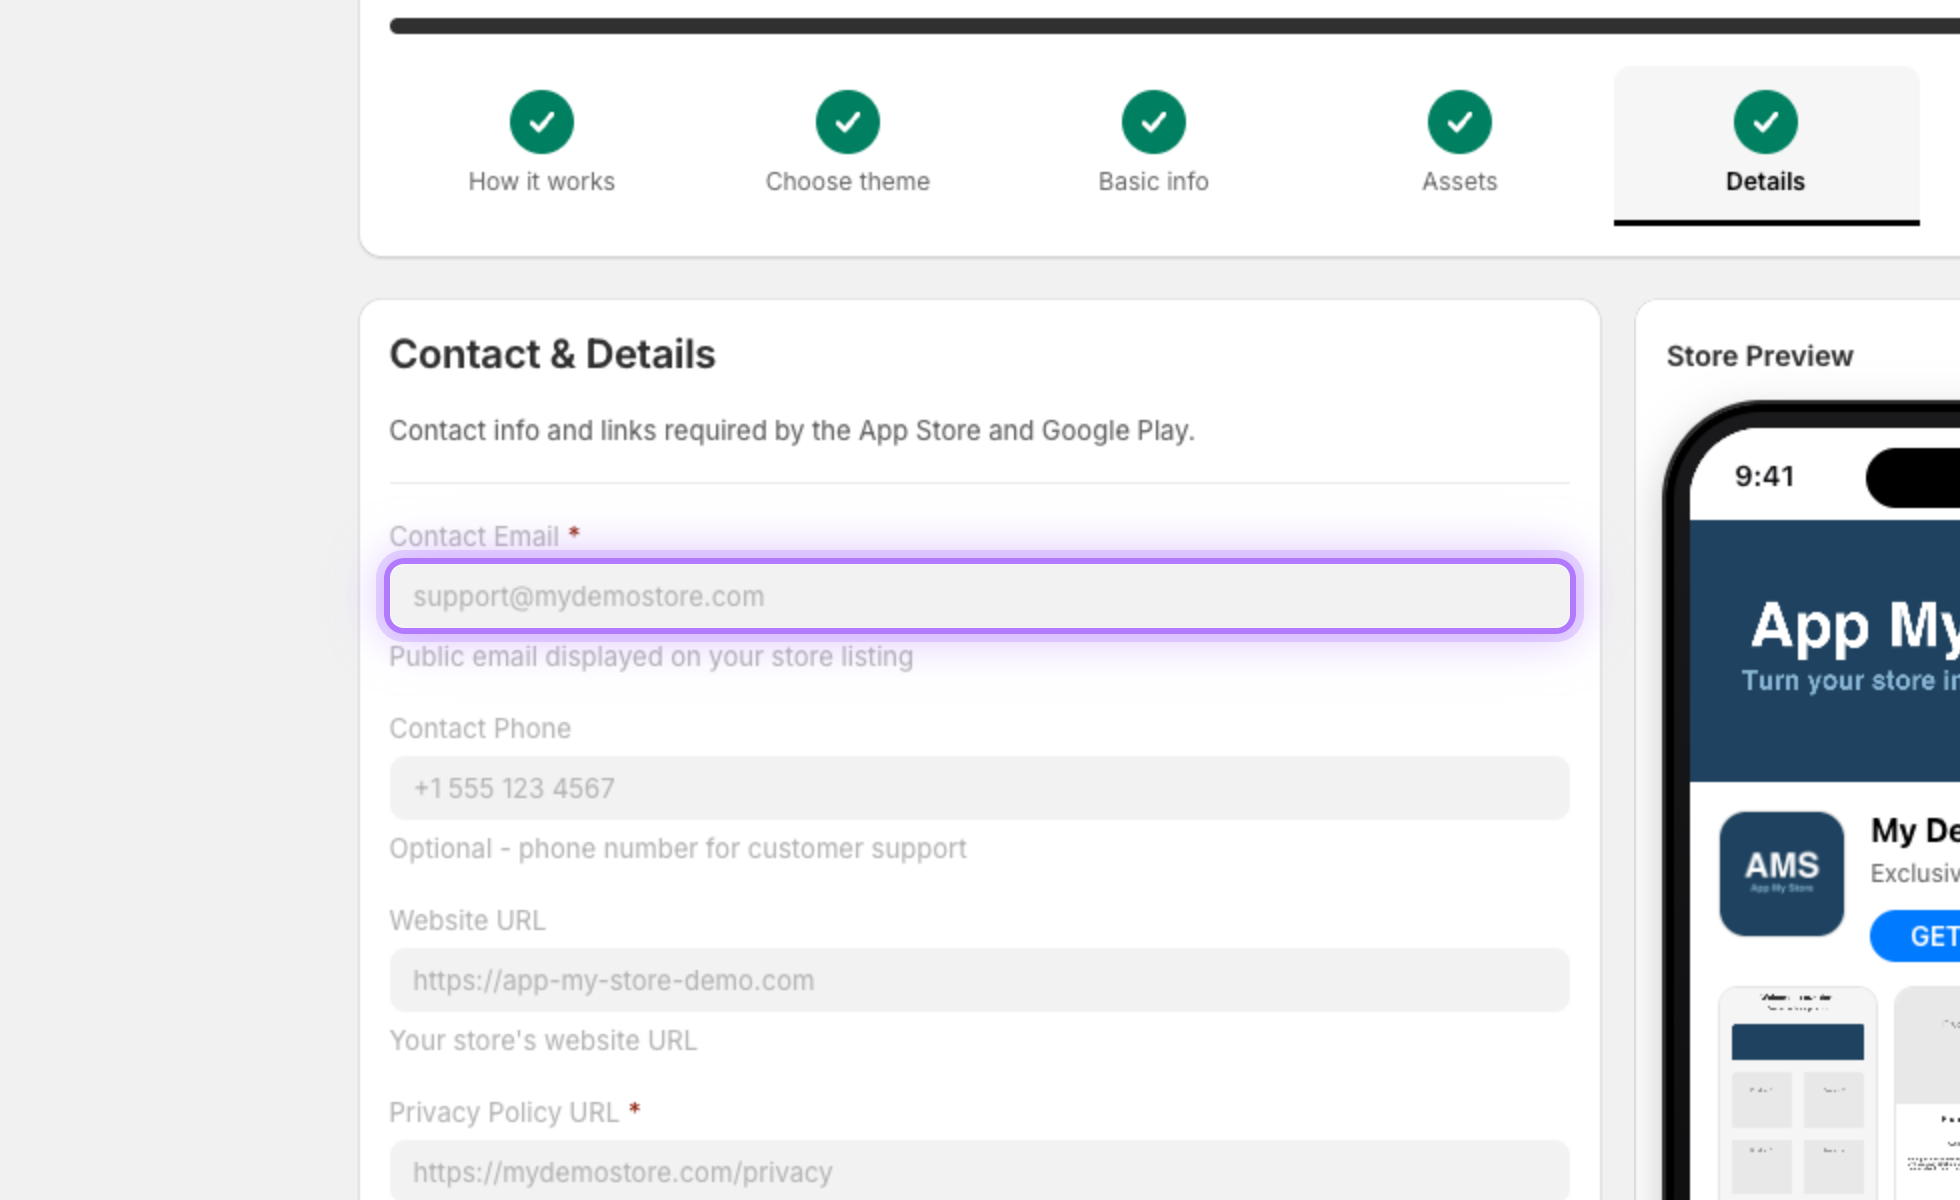
    On Step 5, Details, add the Contact Email where Apple and Google reach you. It is also shown on your store listing so customers can contact you.
    Contact email field
  11. 11

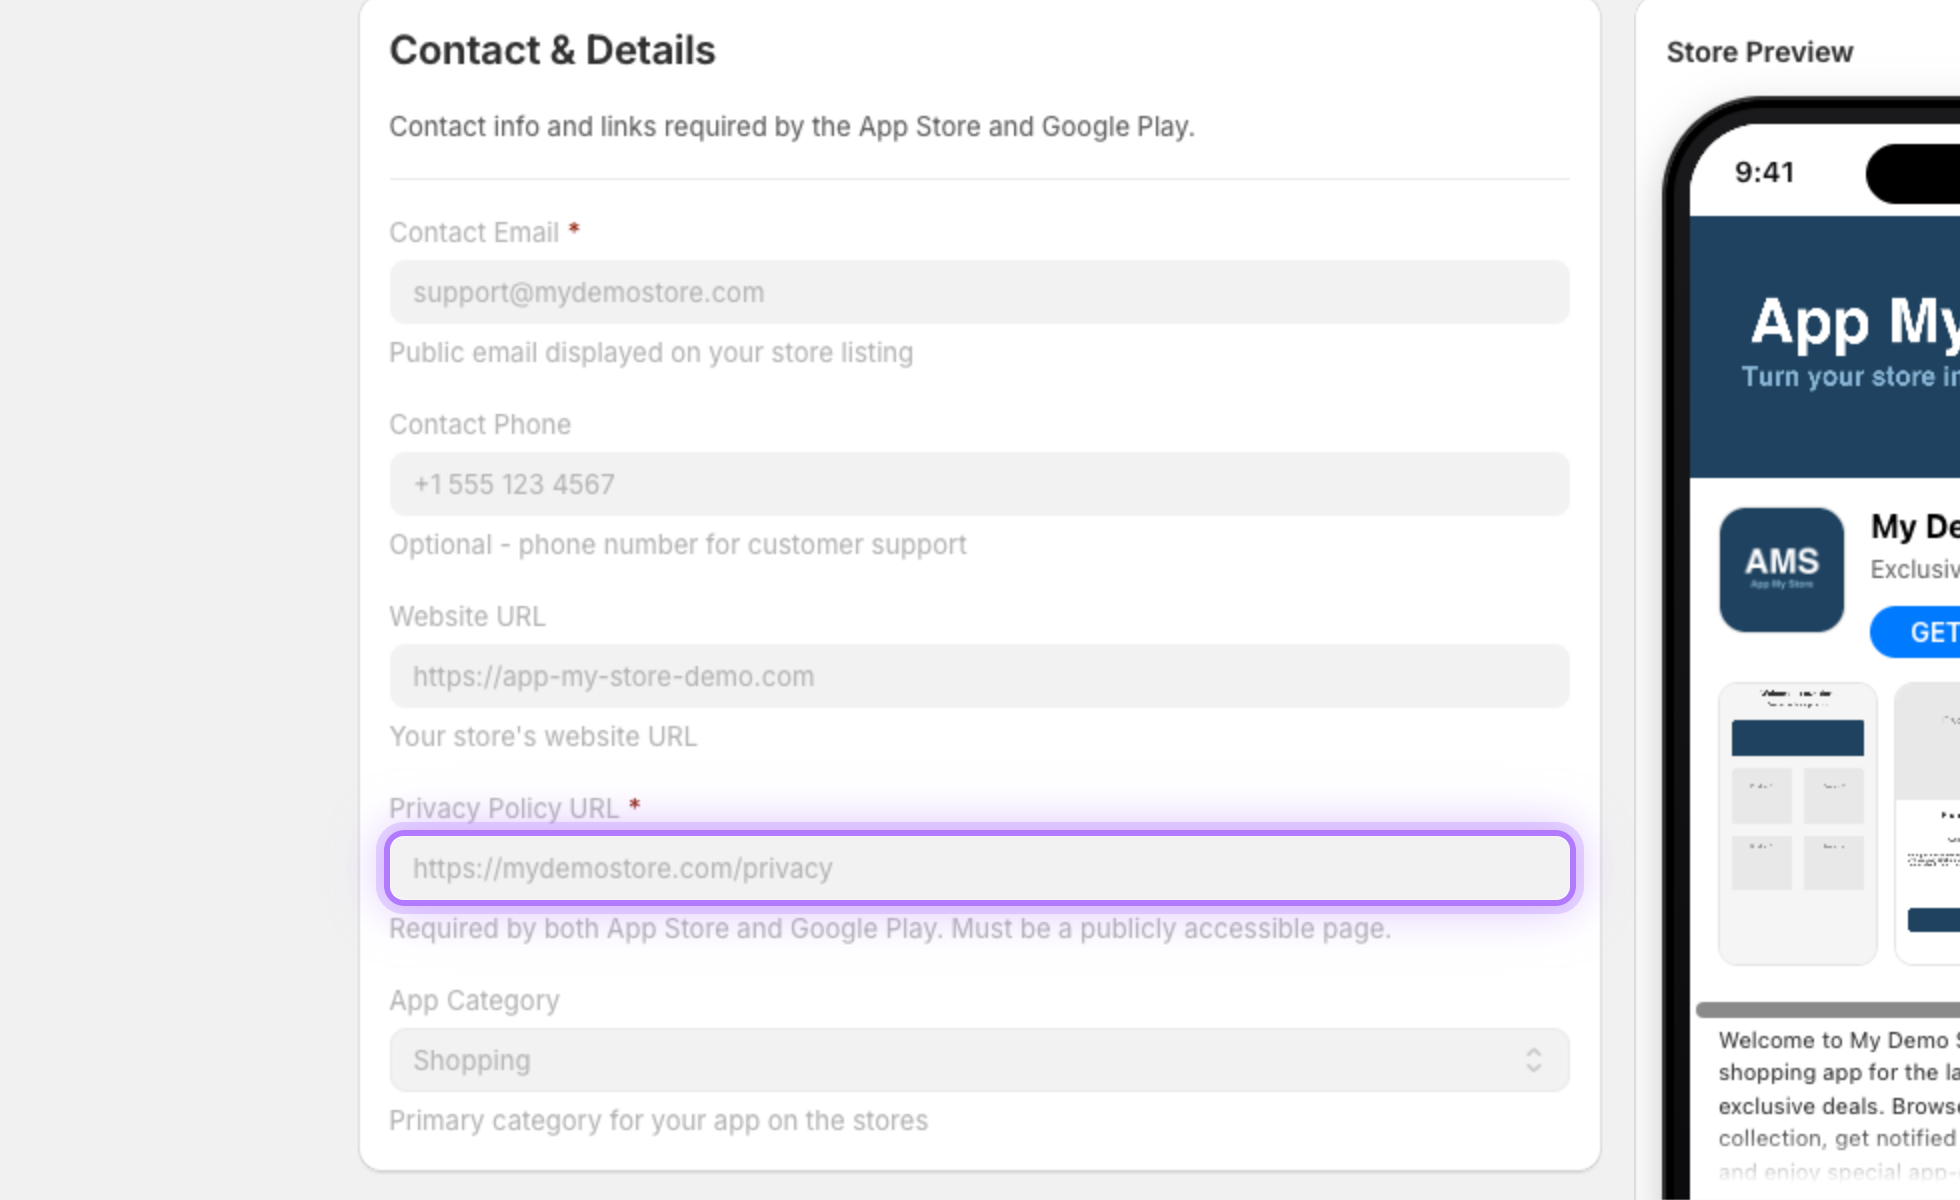
    Add your privacy policy

    A Privacy Policy URL is required by both Apple and Google. If you do not have one, free generators online can create it for you in minutes.
    Privacy policy field
  12. 12

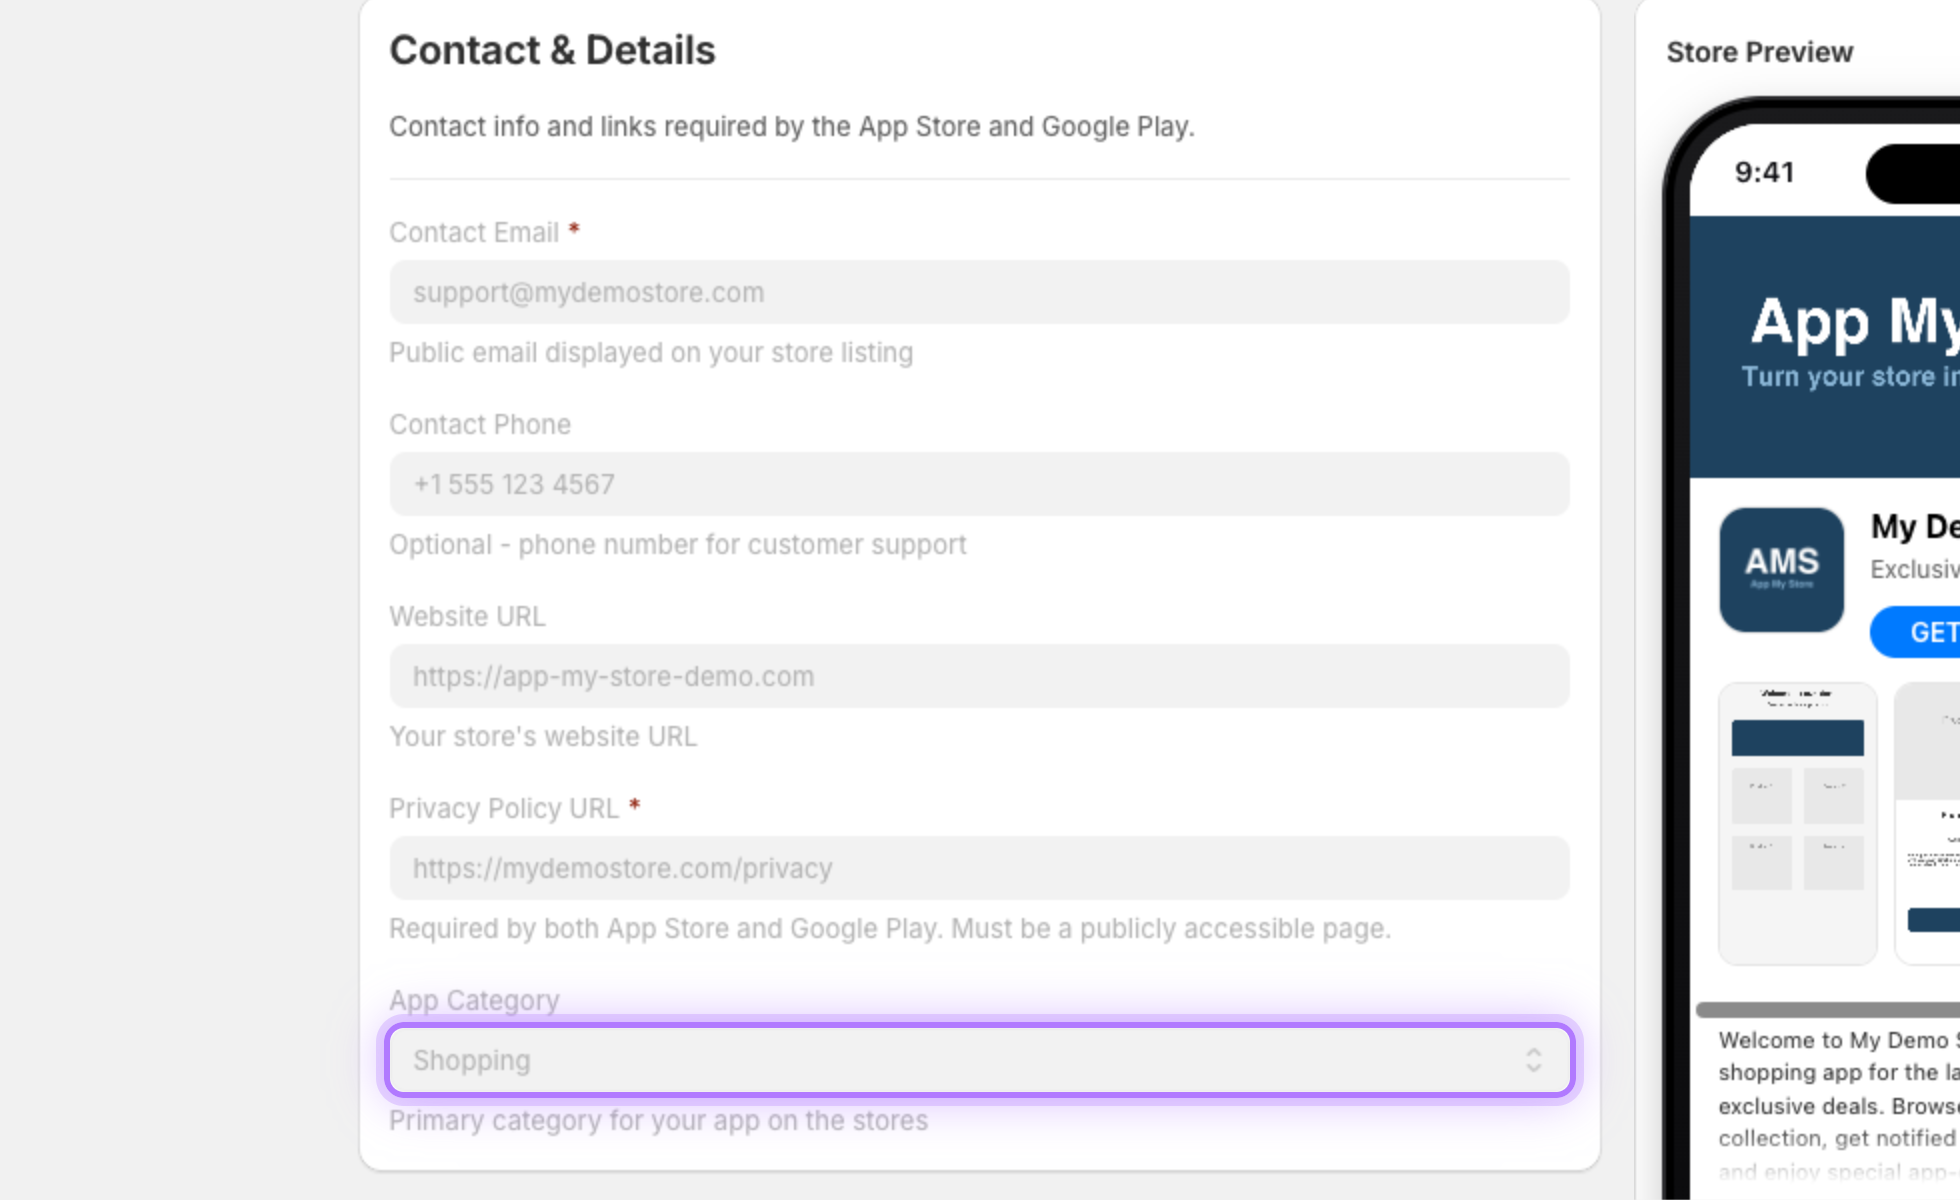
    Choose a category

    Pick the Category that best describes your app. Shopping is the most common choice for e-commerce stores.
    Category selector
  13. 13

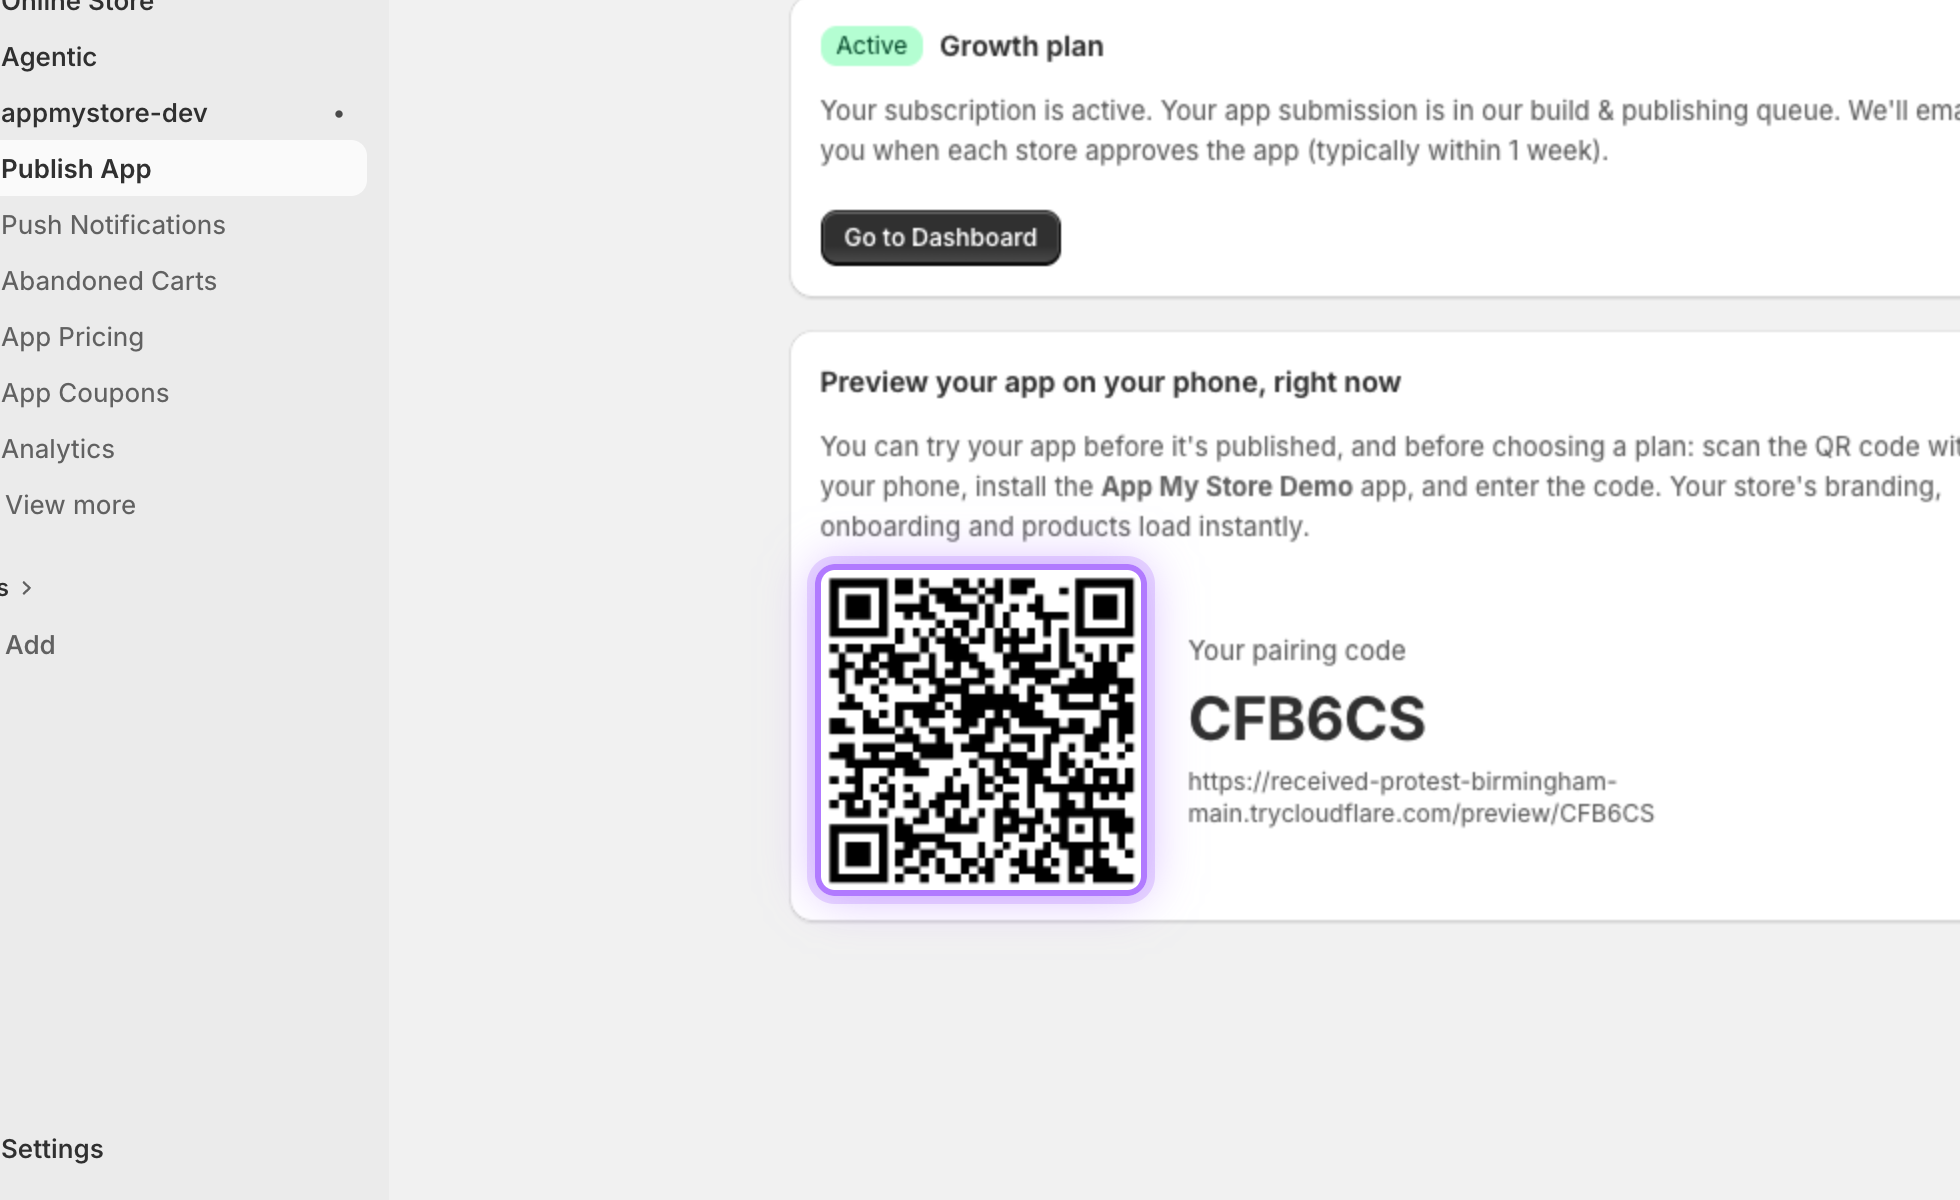
    Preview on your phone, then choose a plan

    On Step 6, Payment, scan the QR code to load your real store in the free AppMyStore Demo app and test it live. When you are ready, choose a plan to start the build and publish process.
    QR pairing preview
Tip: Your onboarding screens, app logo, and splash screen only appear in the final native build, not in the shared beta preview app.
App My Store

Want to hear more details?

Fill out the form and we will get back to you as soon as possible.

    By submitting this form you agree that we process the details you provide in order to respond to your enquiry. See our Privacy Policy.